Antigravity CLI is the command-line version of Google's agent platform, and you run it with the agy command. You open it inside a project folder and describe the job in plain language. The agent reads the code, plans multi-step work, edits several files at once, runs commands, and shows you each change for approval before it is written to disk. Google built this version for people who spend most of their day in a terminal, work on remote servers, or want to use an agent inside scripts and build pipelines.
This guide goes step by step: requirements, installing, a first session, the project rules file, permissions and the sandbox, everyday commands, connecting outside tools, and headless runs. Every command, flag and file name was checked against the official Antigravity CLI documentation on 28 September 2026. On that day the latest version in the official changelog was 1.2.9, released on 23 September. Google rolls new versions out gradually over a few days; if a command behaves differently, check the linked documentation page.
 Official Google artwork for the Antigravity CLI launch
What Antigravity CLI is and what it is good for
Antigravity is the name of a family of Google tools: a desktop app with a visual workspace called Antigravity 2.0, extensions for several code editors, a Python library for building agents, and this command-line version. According to the overview page, the terminal and desktop versions run on the same agent core. Their reasoning, tools and understanding of code are the same. Core settings and permission rules also sync between the two; change a rule in one and it changes in the other.
The difference is how you work. The terminal version is light, fully keyboard-driven, happy over a remote connection or inside tmux, and has a headless mode whose output other programs can read. If a terminal conversation gets complicated and needs a visual view, you can move it to the desktop app. If you used Gemini CLI before, the first launch can import your extensions, skills and settings once.
In practice it does what you expect from a coding agent: explain how a project is laid out, find the cause of an error, write tests, rewrite part of the code, and review changes. Just remember that it runs commands on your machine. Much of this guide is about deciding its reach yourself.
Before you install: operating system, Google account and plan
- Operating system: according to the installation and sign-in guide, the tool runs natively on macOS, Linux and Windows. The new permission system and sandbox are currently active on macOS and Linux; Windows still uses the previous system.
- Account: a personal Google account. The FAQ page suggests trying a Gmail address if sign-in with a Workspace account has problems. It is not available to users under 18.
- Plan: according to the plans and AI credits page, every plan, even without a paid subscription, gets a baseline quota and access to the CLI. Google AI Pro and Ultra subscribers get a larger quota that refreshes every five hours, and teams get access through Gemini Enterprise under Google Cloud terms. Which models each plan can select is listed on the models page.
Installing Antigravity CLI on macOS, Linux and Windows
On macOS and Linux, run this in a terminal. The installer puts the executable at ~/.local/bin/agy:
curl -fsSL https://antigravity.google/cli/install.sh | bash
On Windows, if you use PowerShell:
irm https://antigravity.google/cli/install.ps1 | iex
And if you are in the classic Command Prompt:
curl -fsSL https://antigravity.google/cli/install.cmd -o install.cmd && install.cmd && del install.cmd
On Windows the executable goes into C:\Users\<username>\AppData\Local\agy\bin. On a work machine, or a server that holds sensitive data, read any install script that comes from the internet before you run it.
After installing, open a new terminal window and check the install:
agy --help
If you see agy: command not found instead of the command help, ~/.local/bin is not yet on your shell's search path. The troubleshooting page shows how to add it to ~/.zshrc or ~/.bashrc.
You do not have to update by hand. The CLI has a built-in updater that fetches new versions in the background, and running the same install script again also upgrades the existing install. If you want a fixed version on a build server, set AGY_CLI_DISABLE_AUTO_UPDATE=true in the shell profile. If an update gets stuck, the same troubleshooting page says to delete the lock file ~/.gemini/antigravity-cli/updater/update.lock.
Your first session: signing in, trusting the folder, and a few safe questions
Go to the project folder, make sure there are no unsaved changes, and start the tool:
cd path/to/your-project
git status
agy
The first step is signing in. The tool first looks for a saved session in the operating system's secure credential store (such as Keychain on macOS), and if it finds none, it opens a browser to sign in to your Google account. If you are connected to a server over SSH, there is no browser; the tool prints a URL that you open in the browser on your own computer, sign in, and paste the code it shows back into the server terminal. To sign out and clear the saved tokens, type /logout inside a session.
After signing in, it asks three short questions: color scheme, rendering mode, and whether you trust the folder. For rendering, the full-screen mode is more comfortable in a local terminal, while the inline mode, which keeps output in the terminal's normal history, suits remote connections and tmux better. The third question matters most: once you trust a folder, the agent indexes all its files and can request to run tools. Only confirm the folder of the project you actually want worked on, not your home folder and not a parent folder holding several projects.
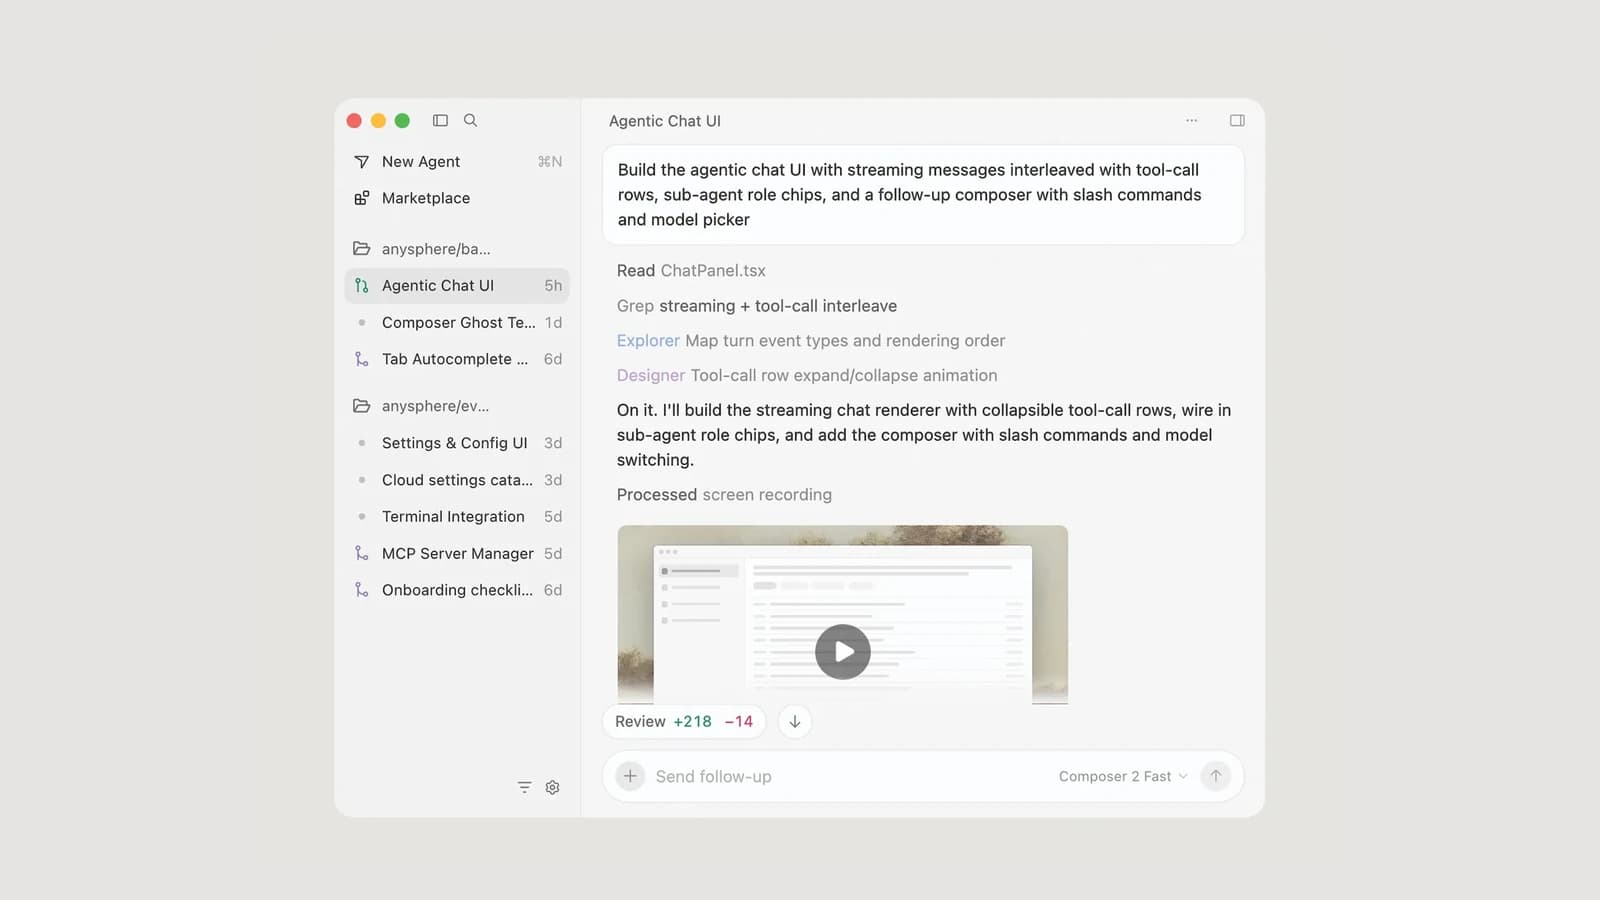
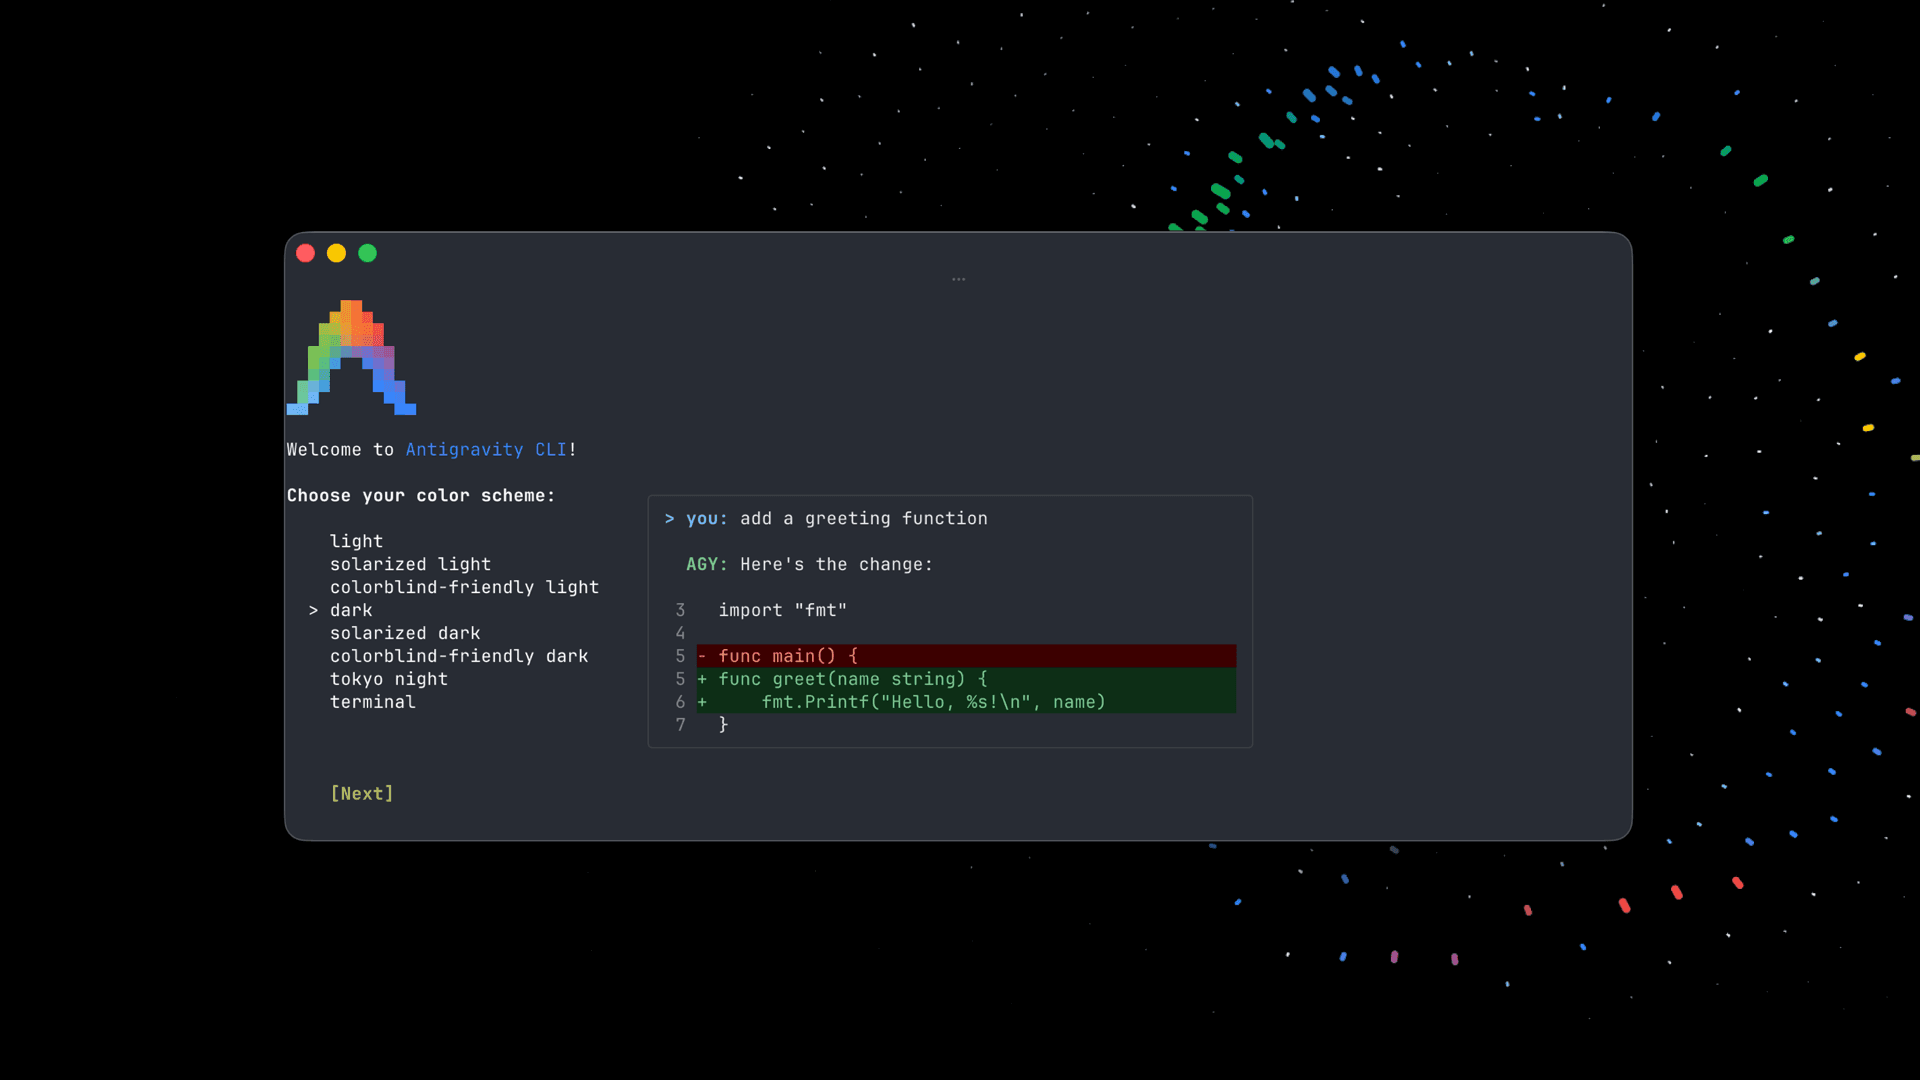 Official screenshot of first-run setup and a reviewable change in Antigravity CLI
In the first session, only ask questions and change nothing yet. A few good examples:
- "What does this project do? Show me the main folders and the file where the program starts."
- "Find the command that runs the tests and just explain it; don't run anything."
- "Which files deal with user sign-in and session storage? Just list them."
A few shortcuts help from the start: typing @ suggests file paths so you can attach a specific file to a request. Starting a message with ! runs a shell command yourself, directly. The Esc key stops the current work immediately. To change the model, type /model inside a session; outside a session, agy models lists the model IDs your account can use.
AGENTS.md: rules the agent always reads
Each new session remembers nothing from the last one. So you do not have to repeat the project's fixed rules every time, the rules guide says to create an AGENTS.md or GEMINI.md file at the project root. It needs no front matter, and its content is always part of the agent's work. An example:
# Rules for this repository
- Install: pnpm install
- Run one test file: pnpm vitest run path/to/file.test.ts
- API handlers live in src/api/; keep them thin and move logic to src/services/
- Do not touch infra/ or any .env file
- Every change ends with: pnpm lint && pnpm test
A few points about where these files live and how they behave:
- Folder-specific rules: put an
AGENTS.md in a subfolder, and whenever the agent reads or edits a file there, those rules are added too; when rules conflict, the more specific one wins.
- Global rules:
~/.gemini/AGENTS.md or ~/.gemini/GEMINI.md applies to all your projects.
- Separate rule files: every file inside
.agents/rules/ must start with YAML front matter containing a trigger key. Allowed values are always_on, model_decision, glob and manual, and Google warns that a rule missing this key, or with a wrong value, is silently ignored.
- Size: since version
1.2.7, rules have their own budget of 20,000 tokens. Keep the files short so nothing gets dropped.
A separate rule that only switches on while the agent works with database migration files looks like this:
---
trigger: glob
globs: "*.sql"
description: "Rules for database migration files"
---
# Migration rules
- Never drop or rename a column in a single migration
- Add new columns as nullable first
Google explains the difference between a rule and a skill this way: a rule is for constraints and fixed principles, such as "don't touch the infrastructure folder", and a skill is for multi-step procedures, such as "how to cut a release". Keep one more point in mind: a rule guides the model; it is not a lock. If something must never happen, block it with the permission rules in the next section. Never put passwords or access keys in these files.
Permissions, execution modes and the sandbox
Access control in this tool has three separate layers, and it pays to know all three.
Layer one: the overall tool permission level. The toolPermission key in the settings file decides what the agent asks about first. According to the CLI reference, it has four values:
| Value | Behaviour | Good for |
|---|
request-review (default) | Asks before writing files, running commands and reaching the web | Getting started and most projects |
proceed-in-sandbox | Runs commands inside the sandbox automatically and asks about the rest | Everyday work on macOS and Linux with the sandbox on |
strict | Asks before every tool that is not read-only | Sensitive projects |
always-proceed | Never asks | Only disposable test environments |
A separate key, artifactReviewPolicy, decides whether outputs are shown for review before code is written. Its default is asks-for-review, and it is best left that way.
Layer two: the execution mode. According to the execution modes page, in default mode the agent stops before every file edit and shows the change in colour. y accepts it, n rejects it, and f opens the full diff view. In accept-edits mode file edits happen without asking, and in plan mode the agent investigates with read-only tools and presents its plan for approval before writing any code. Shift+Tab cycles through default, accept-edits and plan in that order, and to start directly in one mode, use the --mode flag, for example agy --mode=plan. The execution mode only covers file edits; shell commands are still governed by the permission rules.
Layer three: precise rules. In ~/.gemini/antigravity-cli/settings.json you define three lists, allow, ask and deny, and each rule is written as action(target). The permissions documentation states the order of precedence plainly: deny first, then ask, then allow. This example turns the sandbox on, leaves git commands and the build and test scripts free, always asks before git push, and blocks broad deletes, sudo and writing inside the .git folder:
{
    "toolPermission": "proceed-in-sandbox",
    "enableTerminalSandbox": true,
    "permissions": {
        "allow": ["command(git)", "command(regex:npm run (build|lint|test))", "write_file(src/)"],
        "ask": ["command(git push)"],
        "deny": ["command(rm -rf)", "command(sudo)", "write_file(.git/)"]
    }
}
Because ask outranks allow, git status runs without a question, but git push still needs approval despite the command(git) rule. Other actions exist too: read_file and write_file for paths, read_url for web domains, mcp for MCP server tools, and unsandboxed for commands that must run outside the sandbox. Reading and writing inside the project folder is allowed by default, and anything outside it asks. To manage these rules inside a session, type /permissions.
The sandbox. With "enableTerminalSandbox": true or the agy --sandbox flag, according to the sandbox page, the agent's commands run inside kernel namespaces on Linux and under sandbox-exec on macOS. Commands can then write only to the project folder, temp folders and build caches, sensitive files such as ~/.ssh and .env are out of reach, and network access is open only to domains you have allowed with read_url. The CLI default for this key is false, so turn it on yourself. Keep allowNonWorkspaceAccess, which grants access outside the project folder, switched off as well.
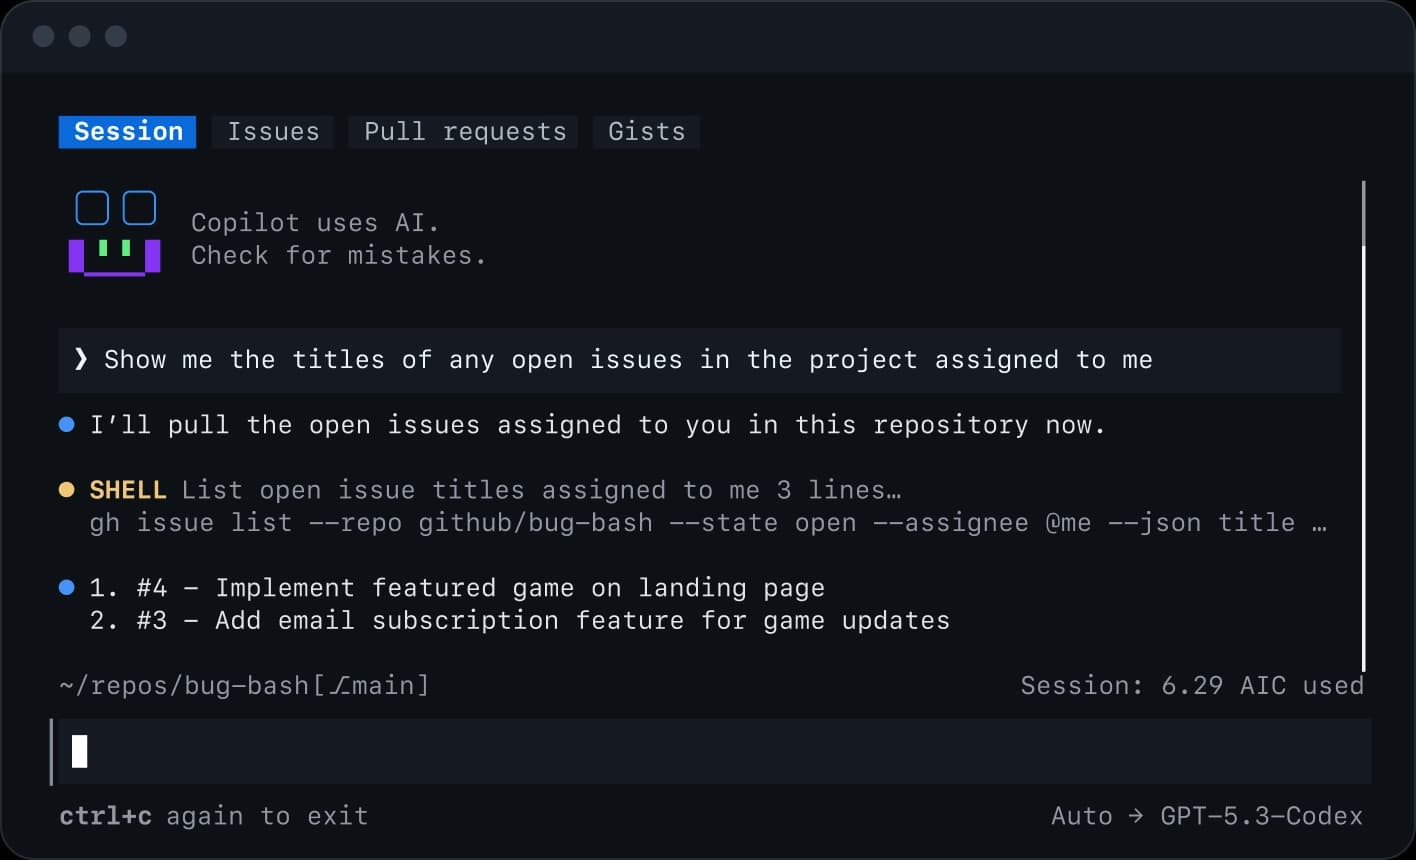
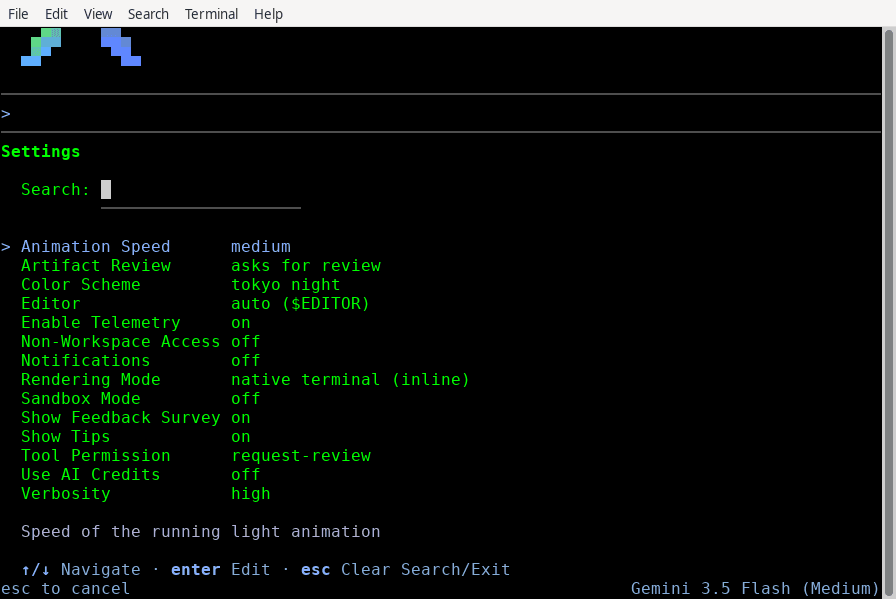 Official screenshot of the Antigravity CLI settings panel
The --dangerously-skip-permissions flag approves every request automatically. Do not use it on your main machine or anywhere real keys and data live. For a longer discussion, see AI tool permission security.
Everyday commands inside a session
Any message that starts with / is a command. The full list is in the CLI reference; these are the most useful:
| Command | Use |
|---|
/help | List commands and keyboard shortcuts |
/config or /settings | Settings panel |
/permissions | Manage permission rules |
/model | Choose the model, which also sticks for later sessions |
/diff | Viewer for file changes, turns and commits |
/rewind or /undo | Go back to an earlier message in the conversation |
/fork | Make a parallel copy of the conversation to try another path |
/resume | Continue an earlier conversation |
/context | See what is filling the model's working memory |
/usage | See model quota usage |
/mcp | Manage MCP servers |
/skills | See loaded skills |
/agents | See custom agents and running subagents |
/clear | Start a fresh conversation |
A few keys come up constantly: Shift+Tab to change the execution mode, Esc to stop the current work, Ctrl+R to open the artifact review panel, and Ctrl+G to write long requests in your own text editor. When you close the tool, it prints the exact command to resume that session.
How to ask Antigravity for work
Antigravity works best when a request answers four questions: what is broken, which part of the code may change, what has to stay as it is, and which check proves the fix. Compare these two:
- Vague: "Fix the signup form."
- Clear: "When a user clicks the signup button twice in a row, two accounts are created. First reproduce the problem with a test, then make the smallest possible fix, only in the src/signup folder. Do not touch the users table schema. At the end, run that folder's tests and tell me what risk remains."
The best practices guide stresses that the most effective thing you can do is give the agent a way to check its own work, meaning tests or a build command. For bigger changes, this order works:
- Switch to
plan mode with Shift+Tab, or start the request with /plan, and ask it to investigate and write an implementation plan first.
- Read the plan. If it names the wrong file or misses a test, correct it right there.
- Go back to
default mode so you see every file edit before it is saved, and answer with y or n.
- Ask it to run the related tests, and look at the output yourself.
- Review the full set of changes with
/diff or git diff, not just the summary the agent wrote.
- If the direction was wrong, go back with
/rewind; if you are unsure which approach is better, make a parallel copy with /fork and try the second approach there.
- Make the commit yourself.
The agent's closing report describes the work; it does not prove it. The proof is the test output and the actual changes to the files. In sign-in, payment, personal data and database schema code, do not drop human review.
MCP, skills and subagents
MCP is a standard that connects the agent to outside tools such as a database, a task tracker or internal documentation. According to the Antigravity MCP documentation, the simplest route is the interactive manager that /mcp opens. Server definitions live in two files: ~/.gemini/config/mcp_config.json for all projects and .agents/mcp_config.json for the current project. The file looks like this:
{
  "mcpServers": {
    "sqlite-explorer": {
      "command": "node",
      "args": ["/usr/local/bin/sqlite-mcp-server.js"],
      "env": { "SQLITE_DB_PATH": "/var/data/app.db" }
    },
    "my-remote-server": {
      "serverUrl": "https://api.example.com/mcp/",
      "headers": { "Authorization": "Bearer YOUR_API_TOKEN" },
      "disabledTools": ["delete_records"]
    }
  }
}
Servers that run on your own machine are defined with command and args, and remote servers with serverUrl. The documentation says explicitly that the older url and httpUrl keys are not accepted. disabledTools hides tools you do not want the model to see, and MCP tools ask for approval before running by default; if you fully trust a server, free it with a rule such as mcp(linter/*). Any server that brings outside content such as web pages or tickets into the session can bring malicious instructions with it. We cover the secure architecture for these connections in MCP integration architecture.
Skills are folders with a SKILL.md file that describes a repeatable procedure, such as the steps of a code review or a release. The file's front matter needs a description, which the agent reads to decide whether the skill fits the current task. Project skills live in .agents/skills/ and your personal ones in ~/.gemini/antigravity-cli/skills/, and /skills lists the loaded skills.
Subagents are helper agents that the main agent starts in the background for independent parts of a job; for example, one traces the code path while another works on the tests. The /agents panel shows their work, and Alt+J jumps to a subagent that is waiting for approval. Do not put two subagents on editing the same files at the same time.
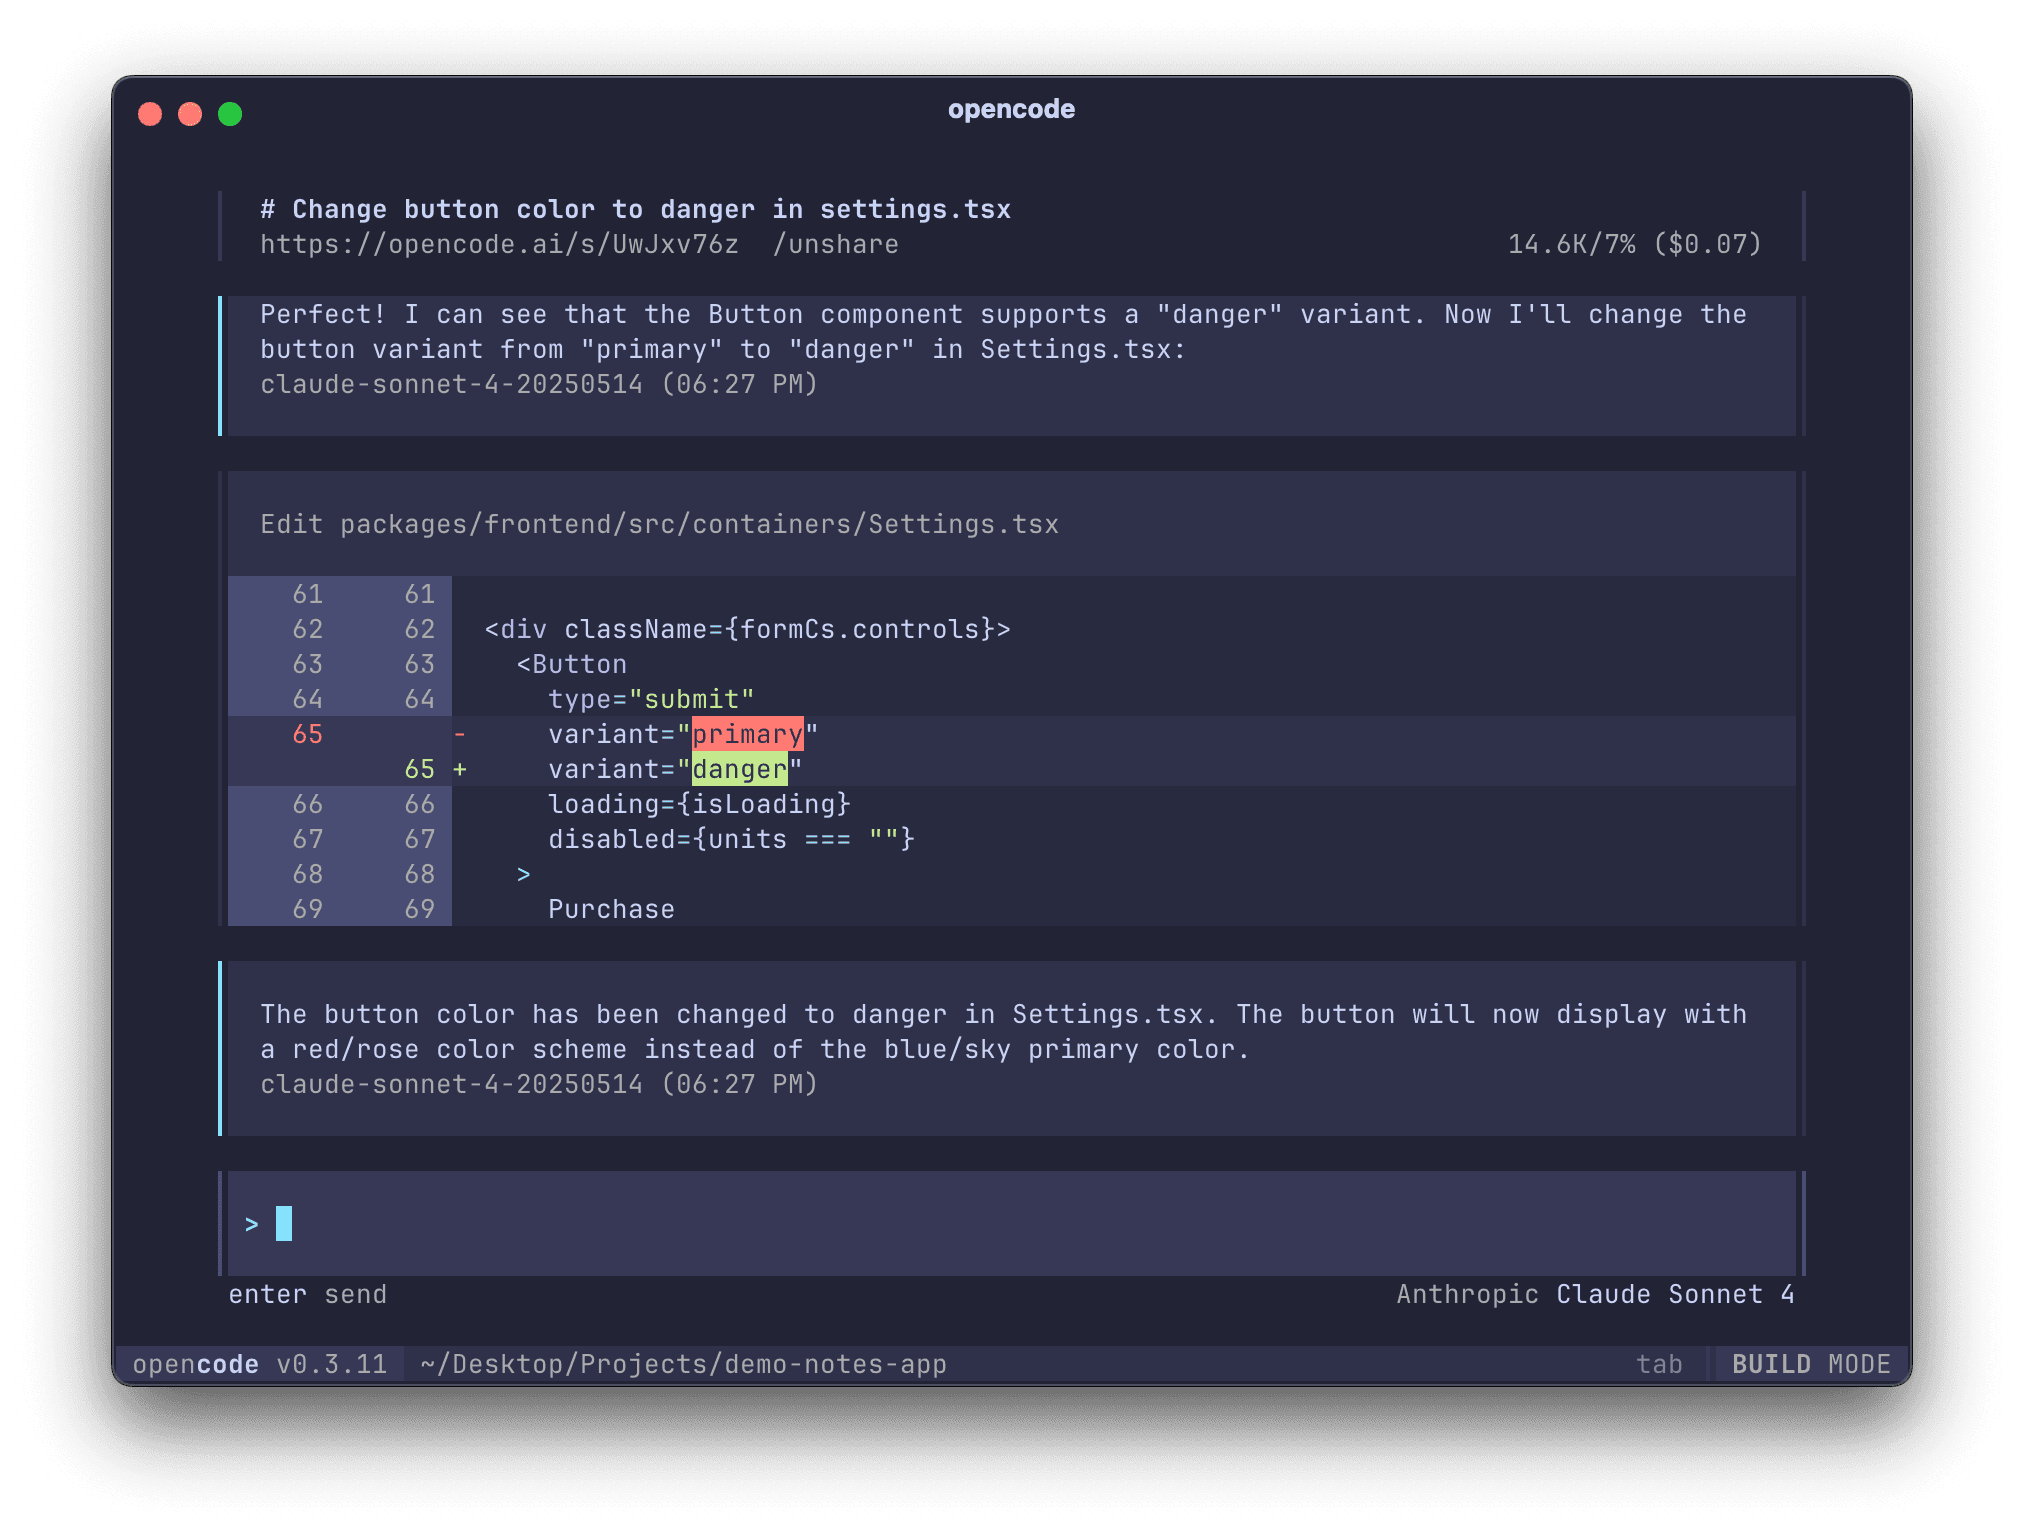
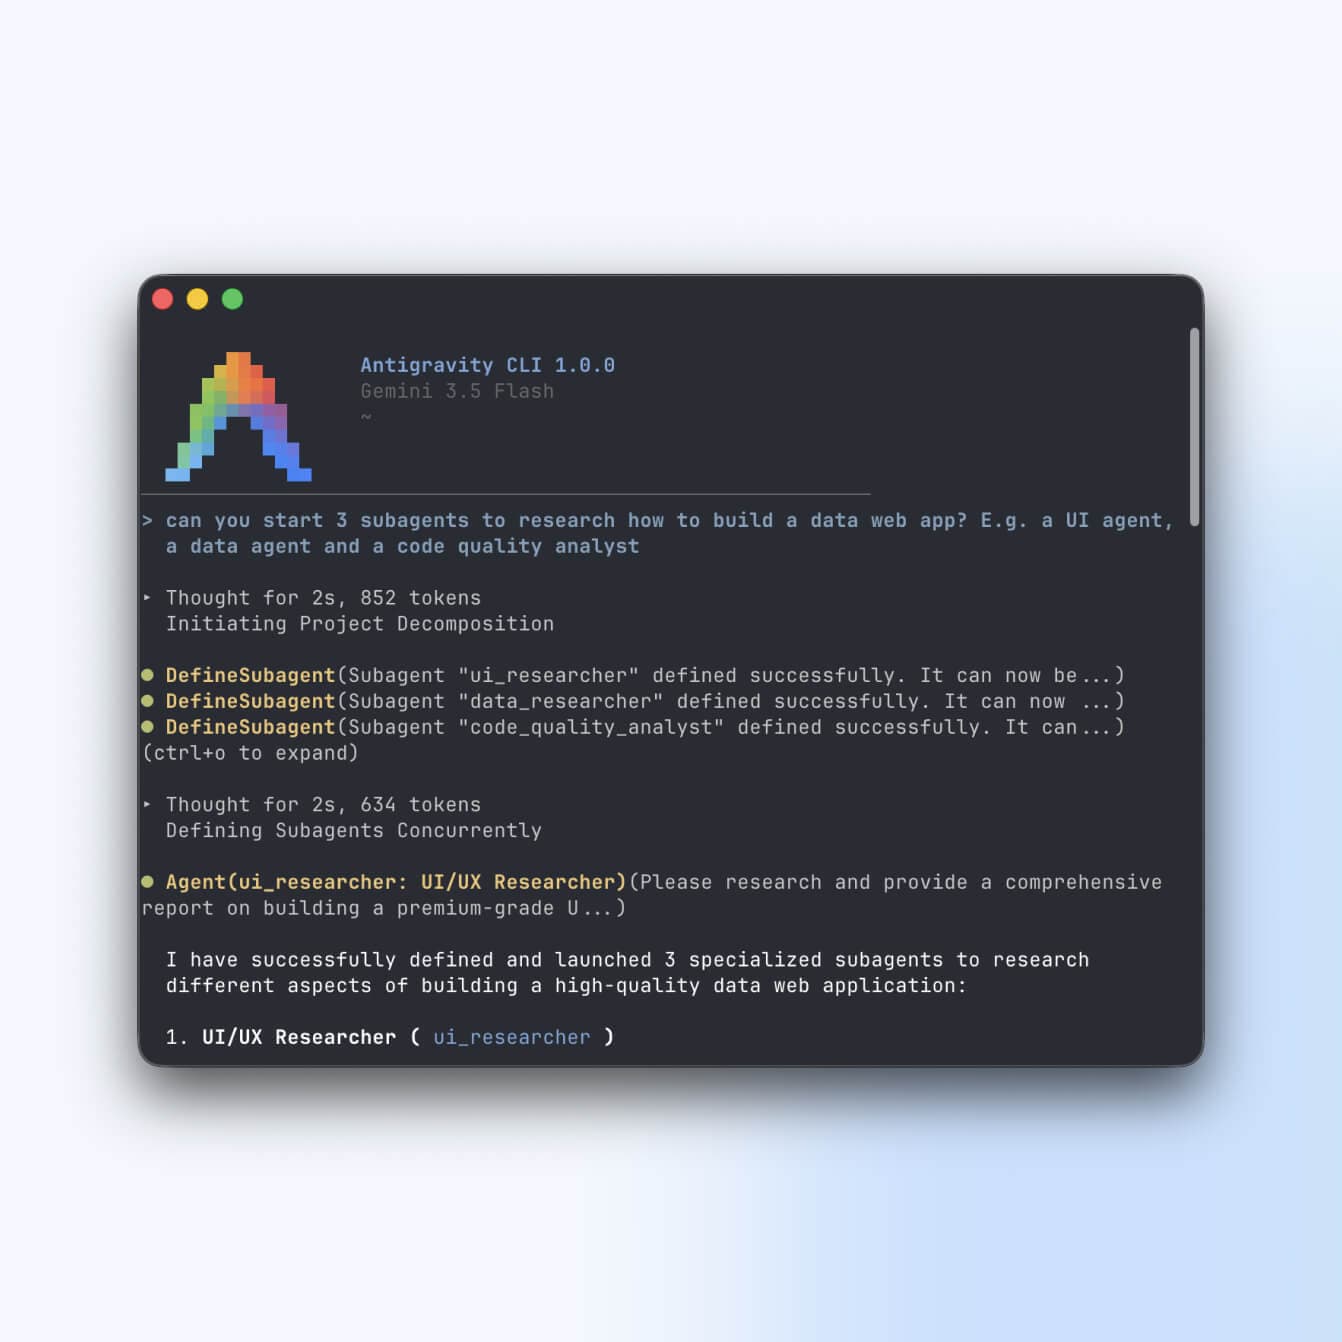 Official Google screenshot of three subagents launched for one task
Running headless with agy -p
Once a task has worked a few times interactively, you can run it from a script or a CI pipeline. According to the headless mode page, the -p flag runs one request, prints the answer and exits. The answer goes to standard output and errors and status messages go to standard error, so the output stays clean:
# Plain text answer with higher reasoning effort
agy -p "Outline a plan to add caching to this service." --effort high

# One JSON object for scripts; read the answer field with jq
agy -p "Name three popular version control systems, comma-separated." --output-format json | jq -r '.response'

# Continue the most recent conversation
agy -p "Now explain your previous answer in more detail" --continue
Other useful flags: --output-format, which takes text, json or stream-json; --json-schema to get the answer back in a set shape; --model with an ID from agy models; --conversation to continue a specific conversation by its ID; --print-timeout to cap the run time; and --sandbox to turn the sandbox on. If you name a model with --model and it does not exist, the run fails with an error instead of quietly picking another model.
In this mode nobody is there to answer a permission request. A tool that needs approval is refused, the run carries on, and a notice is printed to standard error. So put the commands you need in the allow list in advance rather than opening everything with --dangerously-skip-permissions. Headless runs use your saved sign-in, so sign in interactively once. For build servers the installation guide offers another route: set "modelProvider": "gemini" in the settings file and put a Gemini API key in the GEMINI_API_KEY variable, so requests go straight to the Gemini API without an account session. A successful exit only means the run finished, not that the code is right; review the changes before merging.
Rolling out a coding agent for a team
When an agent moves from one person's machine to a whole team, many decisions have to be made up front. Before the rollout, complete this list:
- Model and service: which model and service suit your organisation on cost, quality and data location;
- Shared rules file: a short
AGENTS.md in the git repository with the build and test commands and forbidden actions;
- Team permissions: because this tool's settings file sits in each person's home folder, prepare a standard
settings.json with the sandbox on and shared deny rules, and hand it to everyone;
- Review rule: no change merges without human review, especially in financial and security code;
- Cost cap: a monthly spending cap in toman per person and a monthly usage report;
- Measuring results: pick a few real, recurring team tasks and measure their time and quality before and after the rollout.
If you plan to bring an agent like this into your organisation's development team, with a tool and model that fit your work and clear rules for permissions and review, talk to us: call +98 901 555 5651 or message us on WhatsApp. You can also read about the service on the AI and coding-agent training for teams page.
Source Notes (reviewed 2026-09-28)
Every command, flag and setting in this guide was checked on that date against these official pages: