GitHub Copilot CLI is GitHub's coding agent, and it works inside your terminal. You ask it a question or describe a task, and Copilot reads the project's files, changes code, runs commands, and asks for your permission before anything sensitive. Its main strength is its close link with GitHub itself: it can list your issues and pull requests, work on an issue, and finish by opening a pull request in your name.
This guide starts from zero: installing and updating, signing in, a first session, the project instruction file, tool permissions, plan mode and autopilot mode, everyday commands, MCP, scripted use, and connecting your own model. Every command and name was checked against GitHub's official documentation on 28 September 2026. The tool ships new versions regularly; if a command behaves differently, check the linked page.
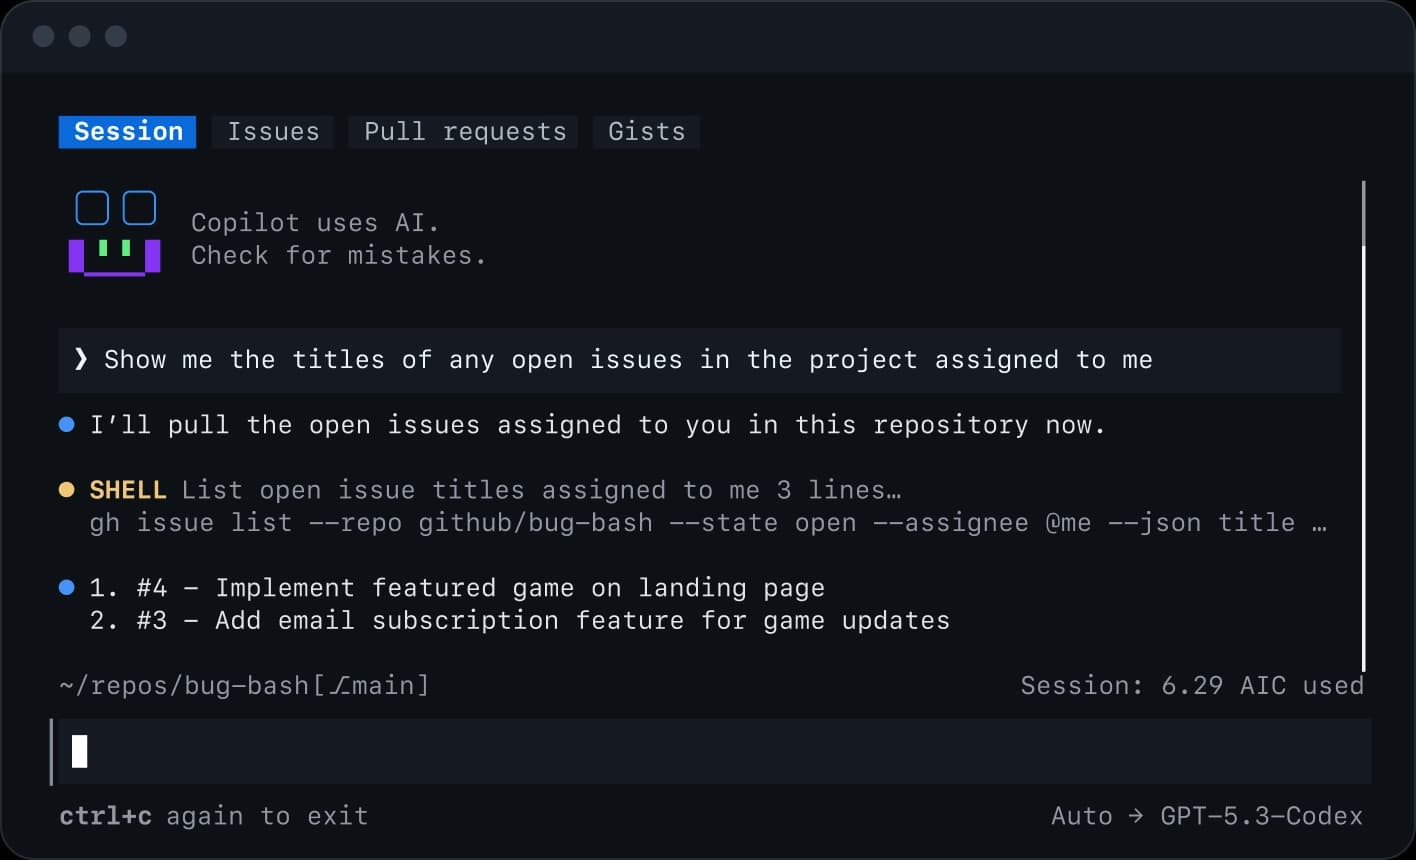
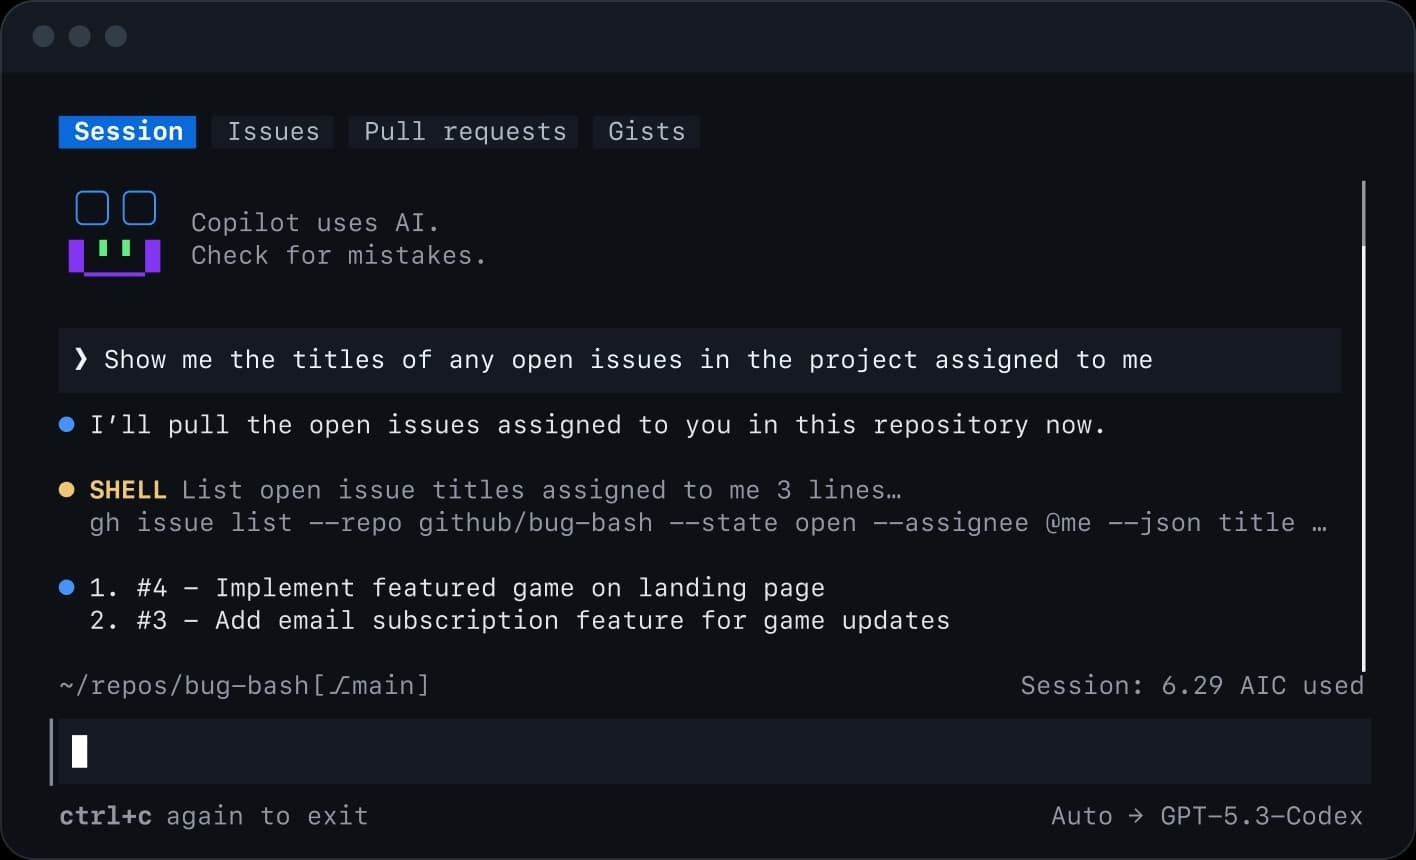 Official GitHub image of Copilot CLI with issue and pull request tabs
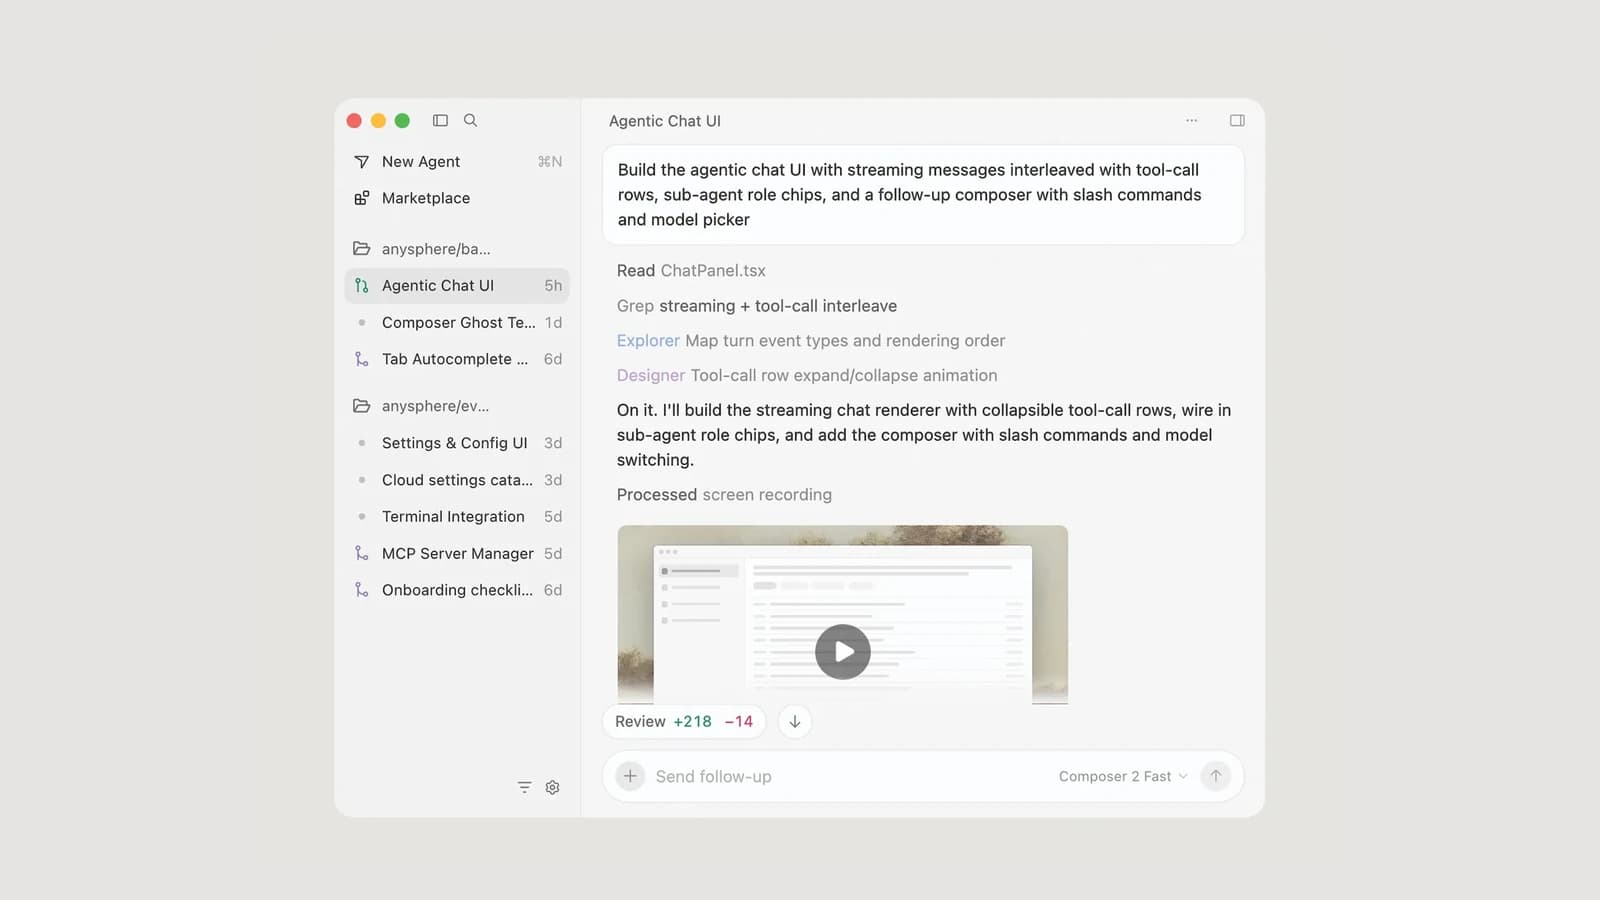
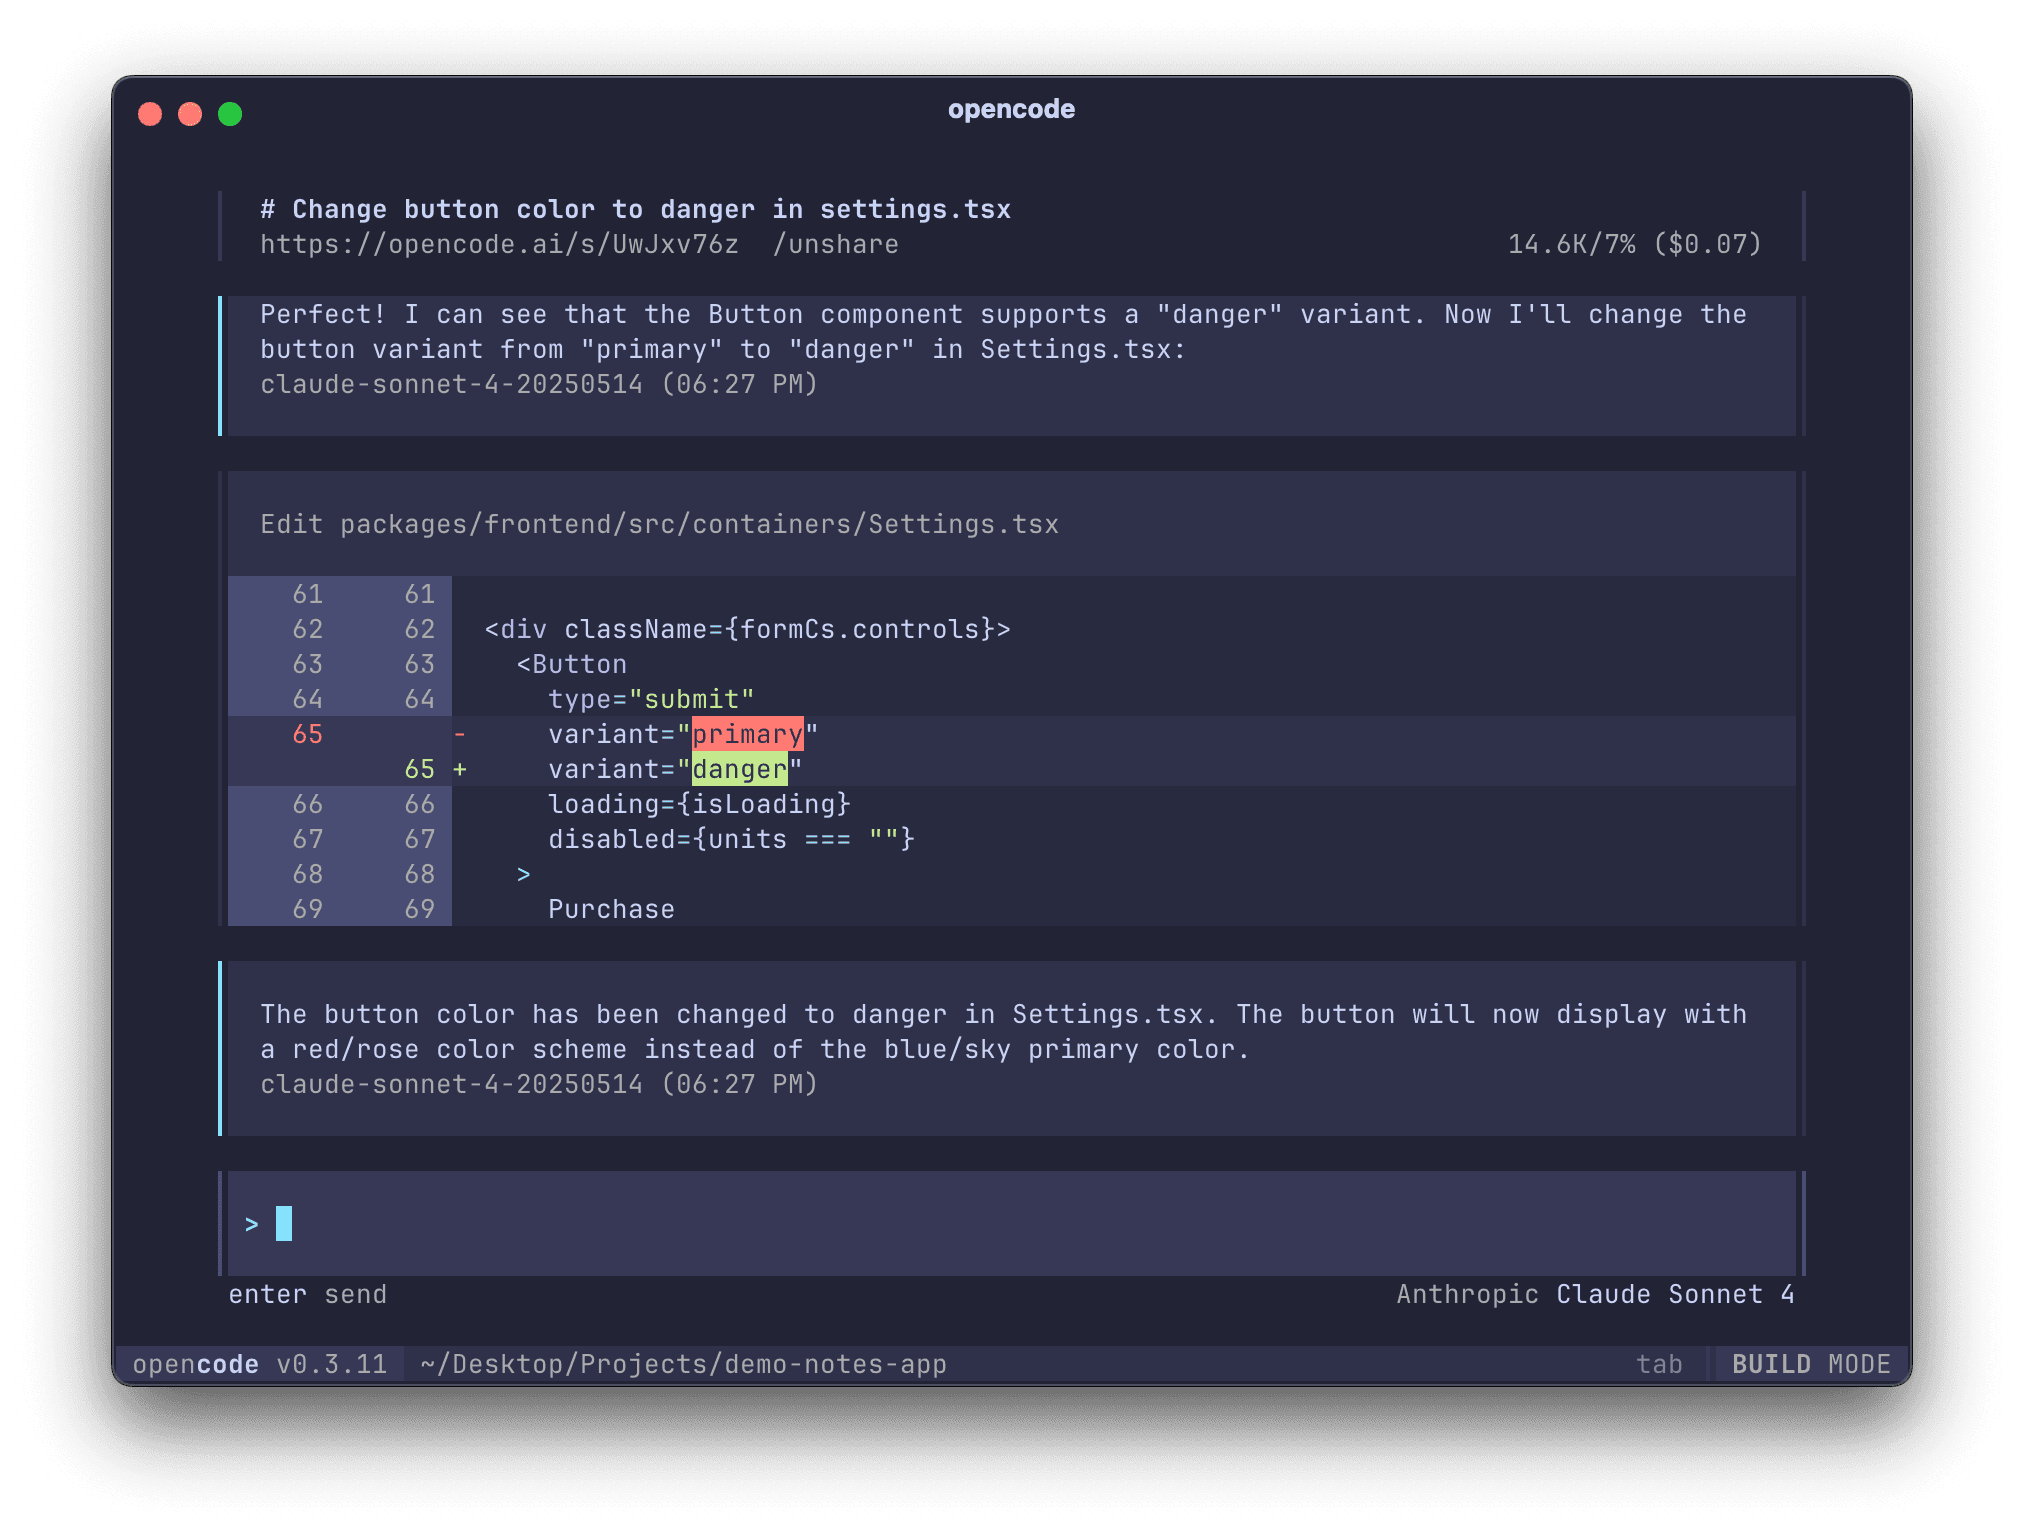
Official GitHub image; the repository and model names shown are only examples.
What GitHub Copilot CLI is and what it is good for
According to the Copilot CLI overview in GitHub's documentation, the tool works in two ways. In interactive mode, you open a session with copilot and move the work forward step by step, steering it as you would with a colleague. In programmatic mode, you pass a single request with the -p flag; it does the work and exits. That mode is for scripts and CI pipelines.
Copilot CLI is good at two kinds of work. The first is local: explaining how a project is laid out, finding the cause of an error, writing tests, improving code or documentation, and Git operations. The second involves GitHub.com: listing open pull requests, working on an issue assigned to you, checking the changes in a pull request, or creating a new issue or pull request. These actions are recorded in your name on GitHub; the documentation states plainly that a pull request Copilot creates shows you as its author.
One point to know from the start: Copilot CLI is not open-source software. Its GitHub repository is public, but the Copilot CLI license is a proprietary GitHub license that does not allow modifying the software.
Before you install: system and subscription
According to the Copilot CLI install page and the overview, you need:
- Operating system: Linux, macOS, or Windows from PowerShell or WSL;
- Windows: PowerShell version 6 or later;
- npm install: Node.js version 22 or later;
- Subscription: an active GitHub Copilot subscription. If you get Copilot through an organisation or enterprise and its administrator has disabled Copilot CLI, you cannot use it;
- Cost: each request uses AI credits from your account, based on the number of tokens and the model chosen.
Installing Copilot CLI on macOS, Linux and Windows
GitHub documents four install routes. With npm, on every operating system:
npm install -g @github/copilot
If your ~/.npmrc file has ignore-scripts=true, the documentation says to run this form instead:
npm_config_ignore_scripts=false npm install -g @github/copilot
With WinGet on Windows, and Homebrew on macOS and Linux:
# WinGet (Windows)
winget install GitHub.Copilot

# Homebrew (macOS and Linux)
brew install --cask copilot-cli
And with the install script on macOS and Linux:
curl -fsSL https://gh.io/copilot-install | bash
Read the install script before running it on company machines. Run as a normal user, it installs the program under $HOME/.local, and you can choose another location with the PREFIX variable. npm, WinGet and Homebrew also publish a prerelease version, which you do not need for everyday work.
To update, run copilot update outside a session or /update inside one. copilot version shows the installed version and also checks for a newer one:
copilot version
copilot update
Your first session: trusted folder, signing in and first requests
Go to your project folder and open Copilot:
cd path/to/your-project
copilot
Copilot's first question is whether you trust the files in this folder, because during the session it may read, change and execute files in this folder and below it. You can trust it for this session only, or remember the folder for future sessions. Choose the second option only for a folder you are sure will always be safe. The documentation stresses that you should not start Copilot CLI from your home folder or from a folder containing unknown executables or confidential data.
If you are not signed in to GitHub, Copilot asks you to type /login. You can do the same outside a session with copilot login. On your own machine a browser opens; on a remote server or over SSH, you get a one-time code to enter in a browser. The sign-in token is stored in the operating system's secure credential store, and if there is none, it may be kept in a plain text file under ~/.copilot/, so protect that folder like a password. For a machine without a browser, create a fine-grained personal access token with the "Copilot Requests" permission and put it in the COPILOT_GITHUB_TOKEN environment variable.
At the start, only ask questions. A few good first requests:
- "What does this project do? Explain the folder layout and where the program starts."
- "Show me the last five changes to the CHANGELOG file and tell me who made each one and why."
- "List the open issues in this repository that are assigned to me."
To add a specific file to a request, type @ and the file's relative path, for example "find the bug in @src/app.js". If you start a line with !, that shell command runs directly without going to the model. To stop a task in progress, press Esc twice quickly. Before the first real change, use git status to make sure you have no unsaved changes.
Instruction files: copilot-instructions.md and AGENTS.md
In every session, Copilot CLI reads the project's instructions from several files and combines them all. The simplest start is /init inside a session or copilot init outside one. It examines the project and writes .github/copilot-instructions.md with the build and test commands, the overall architecture and the project's conventions. If the file already exists, it suggests improvements and you decide which to accept. A short example:
# .github/copilot-instructions.md
- Build with `npm run build`; run one test file with `npm test -- path/to/file`
- Keep API handlers in src/api/ thin; business logic lives in src/services/
- Persian UI text goes in src/locales/fa.json, never hard-coded
- Do not add new dependencies without asking first
According to the Copilot CLI custom instructions guide, keep these points in mind:
- Other files: besides
.github/copilot-instructions.md, Copilot CLI also reads AGENTS.md, CLAUDE.md and GEMINI.md. If your team already has an AGENTS.md, you do not need to repeat it.
- Path-specific rules: files ending in
.instructions.md in the .github/instructions/ folder apply only to the paths named in their applyTo header.
- Personal level:
~/.copilot/copilot-instructions.md holds your own preferences across all repositories.
- No precedence: all these files are combined and have no defined order of priority, so do not write conflicting rules.
- Checking:
/instructions shows the files it found and lets you turn each one off or on. Changes to these files do not apply to an open session; start a fresh one with /new or come back with copilot --continue.
A path-specific rule that applies only to API files:
---
applyTo: "src/api/**/*.ts"
---
Validate every request body with the shared schema in src/api/schema.ts.
These files are guidance, not locks. Anything that must stay forbidden should be blocked with permissions, and passwords and tokens never belong in these files.
Permissions: when Copilot CLI asks you first
The first time Copilot wants to use a tool that changes or executes files, such as touch, chmod, node or sed, it asks for permission and offers three choices: this once only, this tool for the rest of the session, or no, with an explanation of what to do instead. Choose the second option carefully. The Copilot CLI configuration page gives a clear example: if you pick it for a simple rm, Copilot will run any other rm command without asking for the rest of the session, even rm -rf ./*.
For rules set in advance, use the --allow-tool and --deny-tool flags. The patterns look like this: shell(COMMAND) for shell commands, write for file changes, url(DOMAIN) for web access, and an MCP server's name for that server's tools. A deny rule always beats an allow rule, even when every permission is open:
# Let Copilot run git commands, but never push
copilot --allow-tool='shell(git:*)' --deny-tool='shell(git push)'

# Allow file edits without asking, but never touch secret.txt
copilot --allow-tool='write' --deny-tool='write(secret.txt)'
A few more points from the same page:
- Paths: by default Copilot can reach only the current folder, its subfolders and the system temp folder. Use
/add-dir to add another folder.
- Web addresses: access to any web address asks for permission by default. Use
--allow-url and --deny-url to set domains in advance.
- Permission modes:
/permissions switches between default, assisted and allow-all. In assisted mode every request is still raised, but a language model attaches its own safety assessment, and Copilot can approve automatically the requests that model judged acceptable.
- All permissions:
--allow-all, or its other name --yolo, opens every tool, path and address. Do not use it on your main machine.
- Sandbox:
/sandbox enable restricts the commands Copilot runs inside a local sandbox. This feature is still in public preview and may change.
An organisation's administrator can also set permissions.disableBypassPermissionsMode to block all the flags that open every permission. For a deeper discussion, see AI tool permission security.
Plan mode and autopilot mode
An interactive Copilot CLI session has several modes, and Shift+Tab moves between them. In plan mode, Copilot examines the request, asks questions to pin down the scope, and builds a structured plan before writing a single line of code. It is the best place to catch misunderstandings before code changes. You can also use /plan, or start the session with copilot --plan.
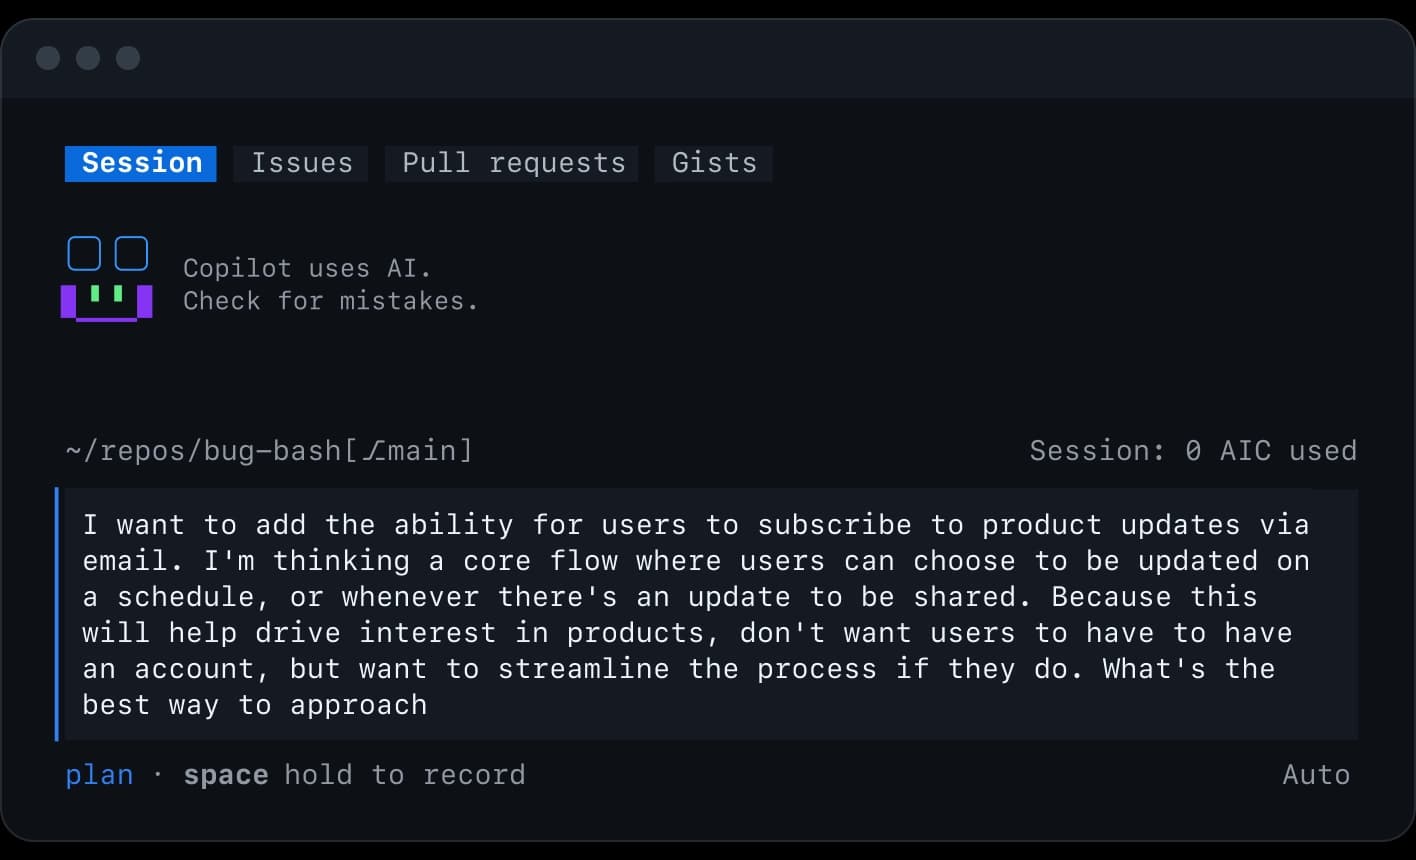 Official GitHub image of plan mode in Copilot CLI
In autopilot mode, after your first instruction Copilot keeps going step by step without waiting for you, until it considers the task done, hits a problem, you stop it with Ctrl+C, or it reaches the continuation limit. According to the autopilot page, that limit is 5 continuation messages by default and can be changed with --max-autopilot-continues. If you enter this mode without having granted every permission, Copilot asks whether to open them all or carry on with limited permissions. With limited permissions, any request that needs approval is denied automatically.
Autopilot suits clearly defined tasks such as writing tests or fixing a CI failure, not vague or exploratory work. Every step uses AI credits without you seeing each request. If you want to give it every permission, turn on the sandbox first.
Slash commands you will use every day
Inside a session, any message that starts with / is a command. The full list is in the Copilot CLI command reference; these are the most useful:
| Command | Use |
|---|
/init | Create or improve .github/copilot-instructions.md |
/plan | Build an implementation plan before writing code |
/model | Choose the model, reasoning effort and context window size |
/permissions | Switch between permission modes or show the current one |
/diff | See the changes in the current folder |
/review | Run the code review agent on the changes |
/undo or /rewind | Roll the conversation, and the files if you choose, back to an earlier turn |
/context | See what is filling the context window |
/compact | Summarise the conversation to free space |
/new | Start a fresh conversation |
/resume | Switch to another session from the session list |
/instructions | View and toggle instruction files |
/mcp | Manage MCP servers |
/usage | See session usage and AI credits |
/help | Help for every command |
When a conversation reaches about 80 percent of the context window, Copilot starts summarising it in the background on its own. Even so, if answers seem to be getting worse, a fresh start with /new usually beats carrying on. Outside a session, copilot --continue reopens the latest session in this folder.
How to ask Copilot CLI for work: from request to pull request
A good request makes four things clear: exactly what is wrong, where the change is allowed, what must not be touched, and which test will judge the result. Compare:
- Vague: "Fix the site search."
- Clear: "Product search returns nothing when the query is typed with Arabic ya and kaf. First write a test that shows this, then convert those two letters to their Persian forms, only in the search-text normalisation function. Do not change the search index structure and do not send anything to the remote repository. At the end, run this area's tests and tell me what risk remains."
For bigger tasks, this order works:
- Switch to plan mode with Shift+Tab or
/plan and ask it to investigate the project first.
- Read the plan, answer its questions, and allow it to proceed only when you are convinced.
- Let it make the change and run the related tests.
- Review the changes yourself with
/diff or git diff.
- Ask the code review agent to check the changes with
/review.
- Make the commit,
git push and the pull request yourself, or at least read the text and changes before they are recorded.
Actions on GitHub.com, such as git push, opening or closing a pull request, merging, commenting and creating issues, take effect outside your machine and are recorded in your name. Authorise them separately from local work and deliberately, for example with --deny-tool='shell(git push)' in sessions that only need local work. /delegate hands the work to Copilot's cloud agent on GitHub's servers, which finishes by opening a pull request, and /remote lets you steer the same session from GitHub on the web or mobile. Review the output of these routes like any other pull request.
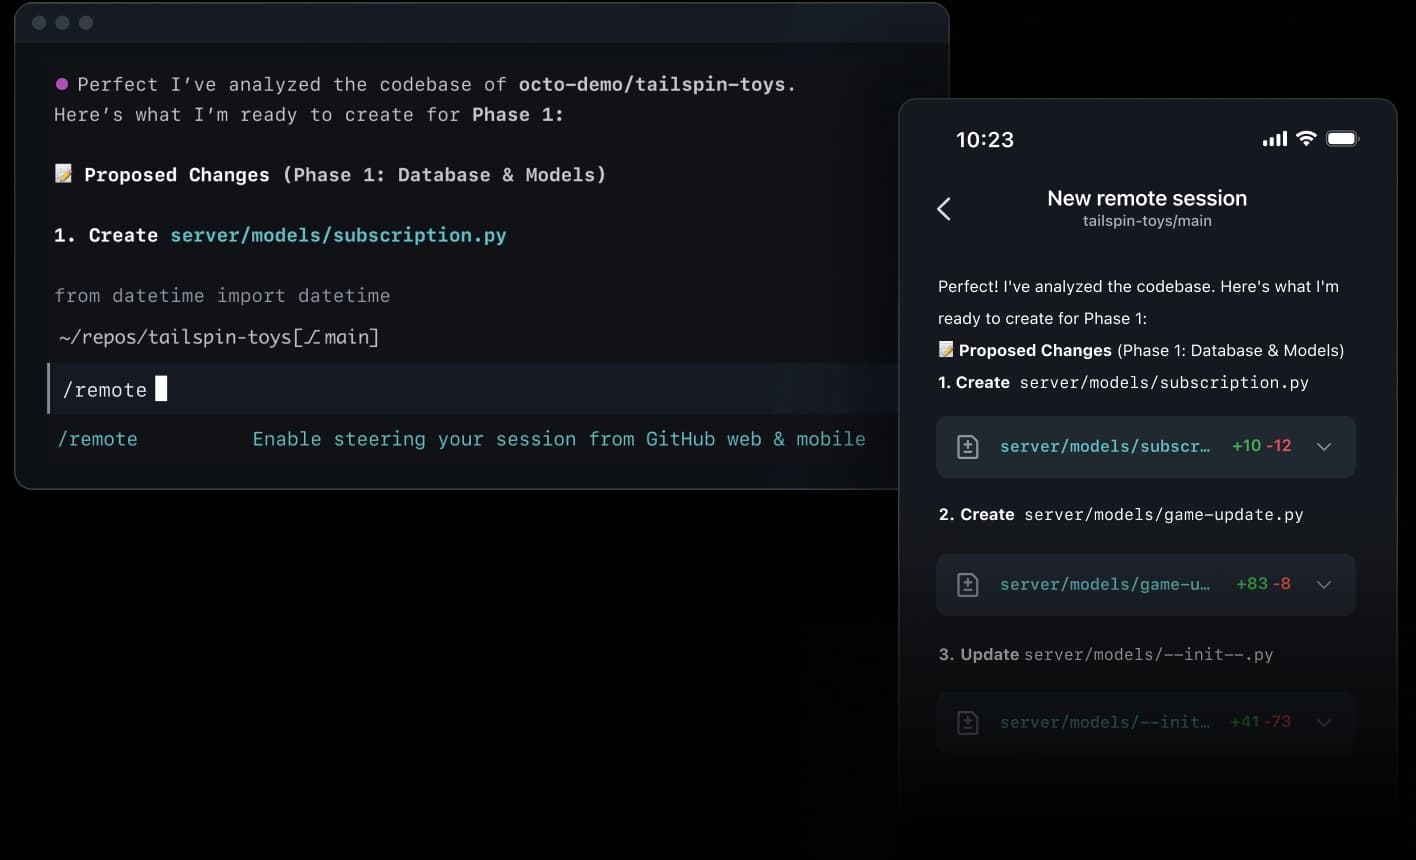 Official GitHub image of steering a Copilot CLI session remotely
MCP, custom agents and skills
Copilot CLI comes with GitHub's own MCP server, which gives it access to issues, pull requests and other GitHub.com resources. You add other servers like this; the first example is from the Copilot CLI usage guide, and the second is the general form for a local server:
# Remote server over HTTP
copilot mcp add --transport http sentry https://mcp.sentry.dev/mcp

# Local server; everything after -- is the server's own command
copilot mcp add SERVER-NAME -- COMMAND [ARGS...]
Server settings are saved in ~/.copilot/mcp-config.json, and servers specific to one repository go in that repository's .mcp.json. Inside a session, /mcp add opens a form for adding a server, and /mcp lists your servers. Each server's tools fall under the same permission rules; for example, --deny-tool='My-MCP-Server(tool_name)' blocks one specific tool from one server. Only connect servers whose makers you know, because a server that reads outside text can also bring malicious instructions into the session. We describe the secure architecture for these connections in MCP integration architecture.
A custom agent is a specialised version of Copilot defined in a Markdown file: what expertise it has, which tools it may use, and how it should respond. Personal agents go in ~/.copilot/agents and repository agents in .github/agents, and you pick them with /agent or the --agent flag. Copilot also has several built-in agents, for quick code exploration, running tests and builds, code review and research, and it decides for itself which work to hand to which. /fleet gives independent parts of a task to several subagents at once; that helps for work that is truly separate and causes trouble for changes that touch shared files. Skills package the instructions, scripts and resources for a specialised task and are managed with /skills.
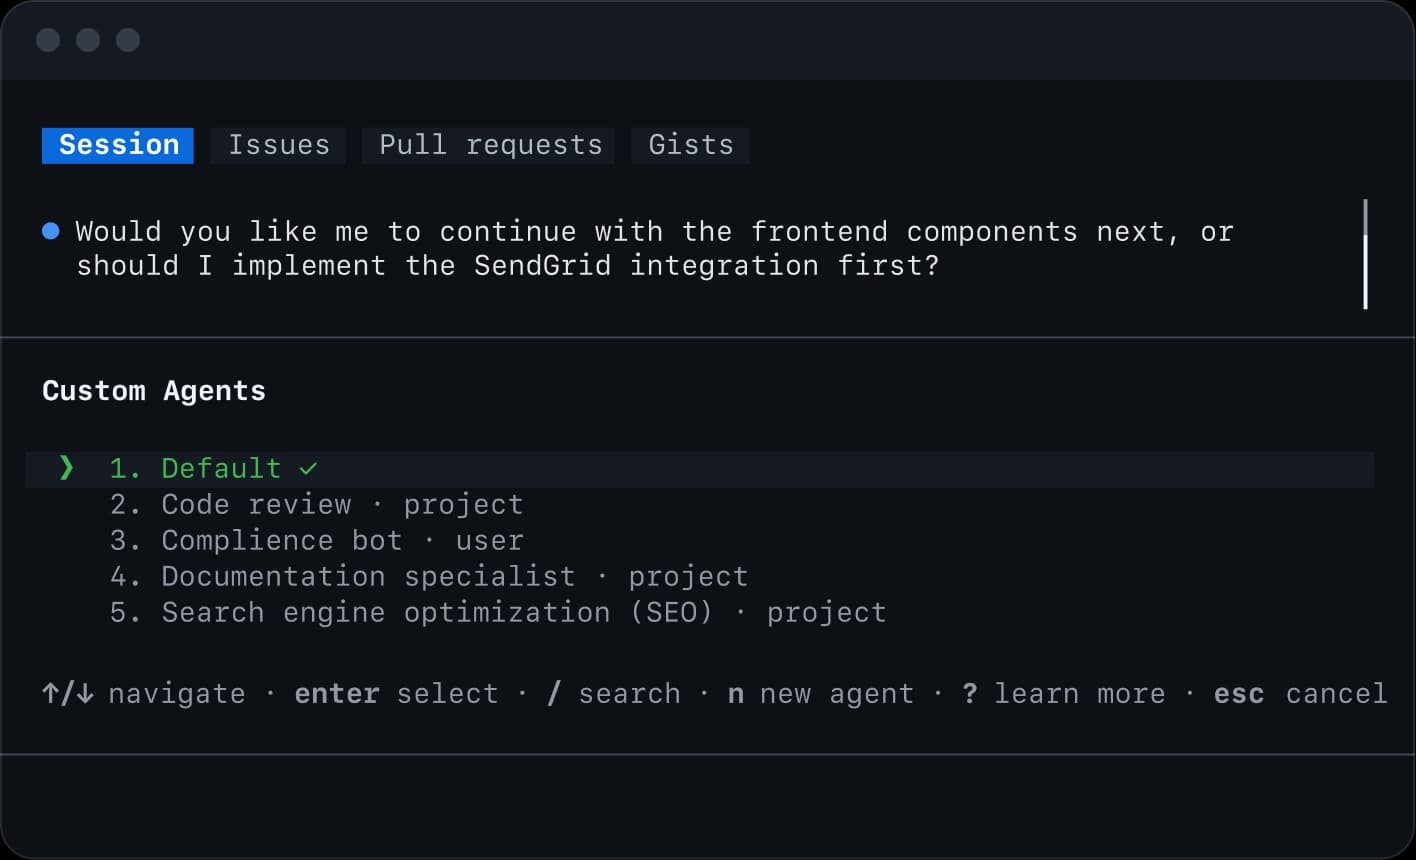 Official GitHub image of the custom agents list in Copilot CLI
Programmatic use with copilot -p
Once a task has worked a few times interactively, you can run it from a script or CI. The -p flag runs the request and exits. These examples come from the Copilot CLI programmatic use guide:
# One-off question with clean output
copilot -p 'Summarize what src/auth/login.ts does in no more than 100 words' -s

# Commit message for staged changes, only git allowed
copilot -p 'Write a commit message in plain text for the staged changes' -s \
  --allow-tool='shell(git:*)'

# Unit tests for one module: file edits and npm/npx only
copilot -p 'Write unit tests for src/utils/validators.ts' \
  --allow-tool='write, shell(npm:*), shell(npx:*)'
The -s flag prints only the agent's answer and leaves out usage statistics, --no-ask-user stops the agent from asking questions, --output-format=json gives line-by-line JSON output, and --model pins the model so results stay consistent across environments. In GitHub Actions, put the token from your secrets into the COPILOT_GITHUB_TOKEN variable. The documentation stresses that in programmatic use you should allow only the tools the task needs and avoid --allow-all outside a sandbox. Output without errors does not mean the change is right either; read it before merging.
Using your own model and provider
By default, Copilot CLI uses models hosted by GitHub, and you switch between them with /model or the --model flag. According to the guide to using your own models in Copilot CLI, you can also connect it to another provider. This feature accepts three provider types: openai for OpenAI and any Chat Completions-compatible server such as Ollama and vLLM, azure for Azure OpenAI, and anthropic. You configure it with environment variables:
# An OpenAI-compatible model server inside your organization
export COPILOT_PROVIDER_BASE_URL=https://llm.internal.example/v1
export COPILOT_PROVIDER_API_KEY=YOUR-API-KEY
export COPILOT_MODEL=YOUR-MODEL-NAME
copilot
The chosen model must support tool calling and streaming, or Copilot CLI returns an error. GitHub also recommends a context window of at least 128k tokens, and copilot help providers shows more examples. This feature suits organisations that want the model or data to stay on their own infrastructure. To choose an open model for coding, see Qwen3.8, GLM-5.2 and DeepSeek-V4 for coding. If you want to compare other terminal agents that connect to a model on your own server, read the Codex CLI tutorial, the OpenCode tutorial and the Qwen Code tutorial. Most of the good habits in this guide, meaning clear requests, planning before changes, reviewing changes and an AGENTS.md file, work the same way in those tools.
Rolling out a terminal agent for a team
Before you give Copilot CLI or any other terminal agent to every developer in the organisation, settle these points:
- Tool and model: which tool, model and service suit your organisation on cost, quality and data location;
- Shared instructions: a short
AGENTS.md or .github/copilot-instructions.md in the repository with build and test commands, forbidden actions and the definition of done;
- Team permissions: a shared list of allowed and denied tools, for example no
git push in local sessions, and the --allow-all flags blocked on team machines;
- Review rule: no change merges without human review, including pull requests the agent opened itself;
- Cost cap: a monthly budget in toman for the whole team and a usage report per person;
- Measuring results: pick a few real, recurring team tasks and measure their time and quality before and after the rollout.
If you want to roll out a terminal coding agent for your organisation's software team, with a tool that fits your needs and clear access and review rules, talk to us: call +98 901 555 5651 or message us on WhatsApp. You can also read about the service on the AI and coding-agent training for teams page.
Source Notes (reviewed 2026-09-28)
The commands, flags and paths in this guide were compared on that date with the official pages below: