AI Tutorials
OpenCode Tutorial: Complete Guide to the Open-Source Coding Agent
Master OpenCode from installation to providers, AGENTS.md, plan and build agents, permissions, skills, MCP, plugins, IDE, desktop, server, and GitHub workflows.
Read MoreA practical Codex CLI guide: installing on macOS, Linux and Windows, signing in, AGENTS.md, the sandbox and approvals, MCP, scripting with codex exec, and connecting a self-hosted model.
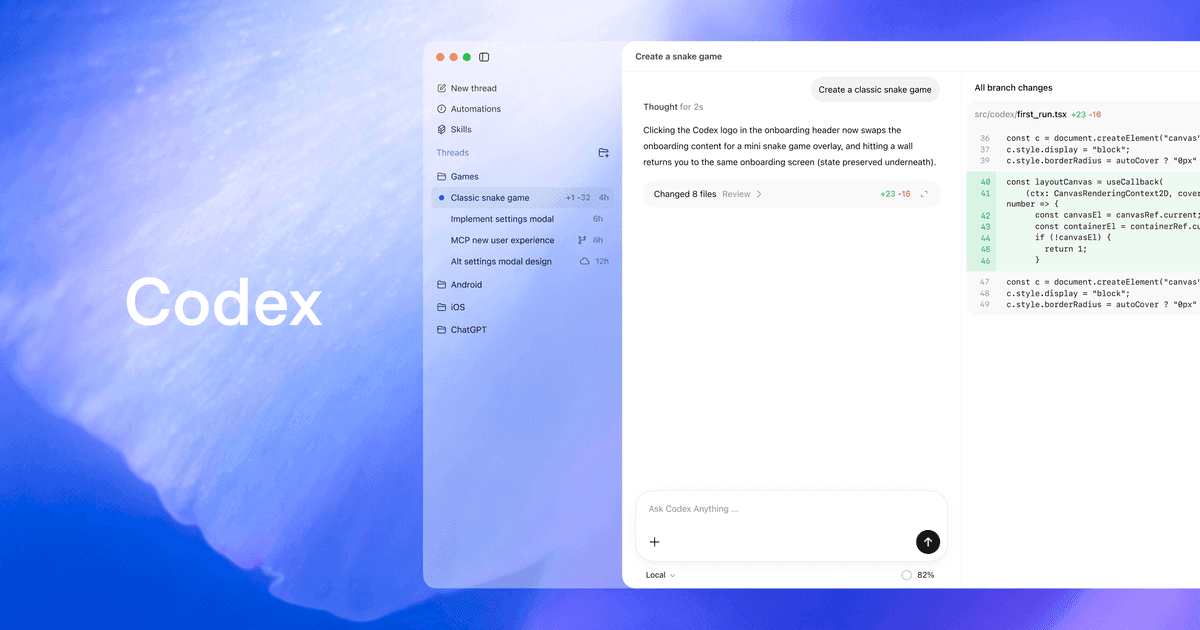
Codex CLI is OpenAI's coding agent, and it runs on your own machine inside the terminal. You open it in a project folder, describe a task in plain words, and Codex reads the files, writes the change, runs the tests and shows you the result. All of this happens inside an isolated environment whose limits are enforced by the operating system, and whenever Codex needs to step outside those limits, it asks you first.
This guide goes step by step: installing and updating, signing in, a first session, the AGENTS.md instruction file, setting up the sandbox and permissions, everyday commands, connecting outside tools with MCP, running Codex from scripts, and connecting it to a model on your own server. Every command and name was checked against OpenAI's official documentation and the project's official GitHub repository on 28 September 2026. Codex ships new versions often; if a command behaves differently, check the linked page.
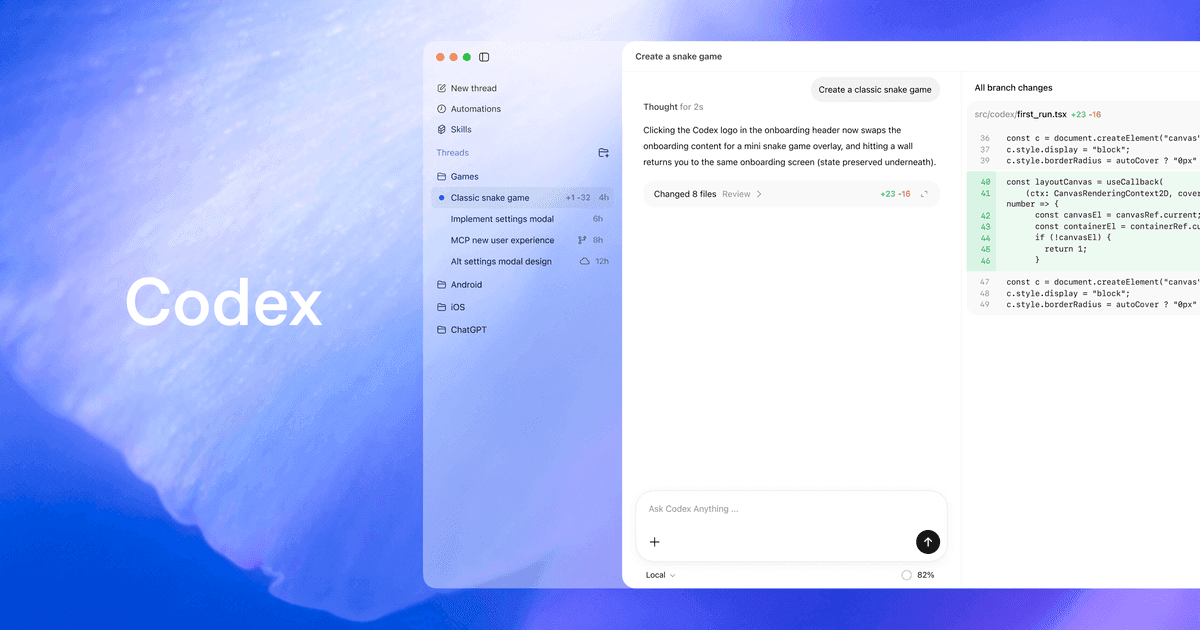 Official OpenAI image introducing Codex
Think of Codex CLI as a colleague sitting next to you at the terminal. It can explain how an unfamiliar project is laid out, find the cause of an error, write tests, make a focused change, and review your changes before you commit. The official Codex CLI page lists three main uses: working on a local repository with the tools already installed on your machine, controlling the model, reasoning effort and permissions, and running automatically from scripts and CI pipelines.
Codex is not only a command-line tool. The same agent is available as an extension for editors such as VS Code, inside the ChatGPT desktop app, and as a cloud service, and sign-in and MCP settings are shared between the CLI and the editor extension. This guide covers the command-line version. One point to know from the start: the code of Codex CLI itself is open source, published under the Apache-2.0 license in the openai/codex repository on GitHub. That comes up again later, when we connect Codex to a model on your own server.
 Official OpenAI image introducing Codex features
According to the install guide in the official Codex repository and OpenAI's documentation pages, you need:
bubblewrap package. Install it with your distribution's package manager, for example sudo apt install bubblewrap;OpenAI recommends the standalone installer. On macOS or Linux, run this in a terminal:
curl -fsSL https://chatgpt.com/codex/install.sh | sh
On Windows, run this in PowerShell:
powershell -ExecutionPolicy ByPass -c "irm https://chatgpt.com/codex/install.ps1 | iex"
If you prefer a package manager, npm and Homebrew installs are documented too:
# npm
npm install -g @openai/codex

# Homebrew
brew install --cask codex
Updating is simple. If you installed with the standalone installer or npm, run the same install command again. With Homebrew, run brew upgrade --cask codex. The codex update command also finds and installs a new version when the installed release supports self-update.
After installing, open a new terminal window and check the install:
codex --version
codex doctor
The first command shows the version number. The second builds a local diagnostic report that checks the installation, the settings file, sign-in status, Git and the terminal. If you hit a problem, run it before reporting anything to OpenAI.
Go to your project folder and open Codex:
cd path/to/your-project
codex
The first time, Codex asks how you want to sign in. Choosing Sign in with ChatGPT opens a browser, and after you sign in, the account details come back to the terminal. You can do the same outside a session with codex login. To sign in with an API key, pass the key to Codex on standard input so it does not end up in your shell history:
printenv OPENAI_API_KEY | codex login --with-api-key
On a server without a browser, codex login --device-auth gives you a one-time code that you enter in a browser on another machine. This method is still in beta, and you must enable it in your ChatGPT account's security settings first. codex login status shows the current sign-in method. Codex keeps sign-in details in ~/.codex/auth.json or in the operating system's credential store. If it is a file, treat it exactly like a password: never commit it, and never paste it into a chat or a support ticket.
When Codex opens, it first checks whether the folder is under Git. In a folder with Git, the recommended mode is Auto; in a folder without Git, it is read-only. It may also stay read-only until you trust the folder. The /status command shows which model is active, what the approval policy is, and where Codex is allowed to write.
At the start, only ask questions. A few good first requests:
Codex understands Persian requests well. In the message box, type @ to search for a project file and add its path to the request. Before the first real change, use git status to make sure you have no unsaved changes. The Codex documentation also recommends creating a Git checkpoint before and after each task so every change can be undone.
Before it starts any task, Codex reads AGENTS.md files. This is where you put rules you do not want to repeat in every session: build and test commands, coding conventions, forbidden actions, and what "done" means. The simplest start is the /init command inside a session, which writes a first AGENTS.md in the current folder. Then read it, correct it and commit it. A short example:
# AGENTS.md

## Commands
- Install: pnpm install
- Test one package: pnpm --filter api test
- Lint before finishing: pnpm lint

## Rules
- Ask before touching anything under db/migrations/
- Persian UI strings live in src/i18n/fa.json
- Never print values from .env files
According to the official AGENTS.md guide for Codex, instructions are assembled in layers:
~/.codex/AGENTS.md holds your personal preferences, applied in every repository.AGENTS.override.md, it is read instead of that folder's AGENTS.md; for example, for special rules for a payments service in its own subfolder.To see what Codex actually read, run this from the repository root:
codex --ask-for-approval never "Summarize the current instructions."
Remember that AGENTS.md is guidance, not a lock. If something must never happen, block it with the sandbox and permission rules instead of relying on a sentence in this file. Never put passwords, tokens or API keys in it.
Codex security has two layers that work together. The Codex security and approvals page defines them like this:
bubblewrap on Linux, and the native sandbox on Windows. Every command Codex runs, from Git to your tests, stays inside it.The common combinations of the two layers are:
| Combination | Flags | Behaviour |
|---|---|---|
Auto, the default for folders with Git | --sandbox workspace-write --ask-for-approval on-request | Reads and edits files in the working folder and runs commands; asks before writing outside the folder or using the network |
| Read-only | --sandbox read-only --ask-for-approval on-request | Only reads and runs commands within the read-only boundary; asks before going beyond it |
| Read-only, no prompts | --sandbox read-only --ask-for-approval never | For CI; never asks and never leaves the read-only boundary |
| Full access | --dangerously-bypass-approvals-and-sandbox or --yolo | No sandbox and no prompts; only inside a disposable virtual machine or container |
A few points from the same page that matter in practice:
workspace-write mode, the .git, .codex and .agents folders inside the working folder stay read-only. That is why git commit may ask for approval./permissions to switch between Auto and Read Only, for example when you only want to talk or plan for now.approval_policy = "untrusted" value is no longer supported and can stop Codex from starting. If it is in your old settings, remove it.For permanent settings, edit ~/.codex/config.toml:
# ~/.codex/config.toml
approval_policy = "on-request"
sandbox_mode = "workspace-write"

[sandbox_workspace_write]
network_access = false   # turn on only when the project needs it
Project-specific settings can go in .codex/config.toml inside the repository, but Codex reads that file only after you have trusted the project. Do not use --yolo on your main machine. If Codex needs to write to another folder too, the documentation recommends the --add-dir flag, which makes only that folder writable, instead of full access. For a deeper discussion, see AI tool permission security.
 Official OpenAI image for the Codex security and approvals page
Inside a session, a message that starts with / is a command. The full list is in the Codex CLI commands reference; these are the most useful:
| Command | Use |
|---|---|
/init | Create a first AGENTS.md in the current folder |
/plan | Switch to plan mode so it proposes a plan before acting |
/permissions | Change the access level, for example between Auto and Read Only |
/status | See the active model, approval policy, writable folders and token usage |
/model | Choose the model and reasoning effort |
/diff | See the Git diff, including files Git does not track yet |
/review | Review working-folder changes, focusing on behaviour changes and missing tests |
/compact | Summarise the conversation to free working memory |
/new | Start a fresh conversation without closing the program |
/resume | Continue a saved conversation |
/mcp | List the MCP tools available in this session |
/usage | See the account's token usage |
There are two more shortcuts. Start a line with ! and that shell command runs under the same sandbox and approval rules. Press Enter while Codex is working and your new instruction reaches it in the current turn, so you do not have to wait. Outside a session, codex resume --last reopens the latest conversation in this folder.
The quality of Codex's work depends above all on how clear the request is. A good request says exactly what is wrong, where the change is allowed, what must not change, and which test will judge the result. Compare these two:
The second request leaves less to guesswork and gives you a yardstick for the result. For bigger tasks, this order works:
/plan to ask it to investigate the project first and propose a step-by-step plan./diff or git diff./review inside a session, codex review outside it. The review only reports; it does not change anything in the working folder.# Review uncommitted changes, or everything since the main branch
codex review --uncommitted
codex review --base main
When Codex says the work is finished, it only means it has stopped working. Whether the work is right is shown by the test output and the actual file changes. In payment code, user sign-in, personal data and database schema changes, never skip human review.
MCP is a standard that connects Codex to outside tools and data: up-to-date library documentation, a browser, a design tool, or an error-tracking system. According to the Codex MCP documentation, a server that runs on your own machine is added like this. The -- separates Codex's options from the server's own command:
codex mcp add context7 -- npx -y @upstash/context7-mcp
And a remote server reached at a web address like this:
codex mcp add example --url https://mcp.example.com
These settings are saved in the same ~/.codex/config.toml and are shared between the command line, the editor extension and the desktop app. In the settings file you can tune each server; for example, you can make Codex ask you before any tool that is not read-only:
[mcp_servers.context7]
command = "npx"
args = ["-y", "@upstash/context7-mcp"]
default_tools_approval_mode = "writes"   # ask before tools that are not read-only
tool_timeout_sec = 60
codex mcp list shows the registered servers, codex mcp login <server-name> is for servers that use OAuth sign-in, and inside a session /mcp lists the available tools. Besides MCP, Codex has skills and plugins: a skill packages repeatable instructions and is available through /skills, and a plugin connects Codex to your team's tools and data.
Every MCP server widens what Codex can reach. Only connect servers whose makers you know and trust. A server that reads web pages or email can bring malicious text into the session along with it. We explain the secure architecture for these connections in detail in MCP integration architecture.
 Official OpenAI image for the Codex skills section
Once a task has worked a few times interactively, you can run it from a script or a CI pipeline. codex exec runs the request, prints progress to stderr and only the final answer to stdout. These examples come from the Codex non-interactive mode guide:
# Read-only by default: summarize and flag risky areas
codex exec "summarize the repository structure and list the top 5 risky areas"

# Allow edits inside the workspace only
codex exec --sandbox workspace-write "fix the failing unit tests in src/utils"

# JSON Lines events for scripts, final message also saved to a file
codex exec --json "summarize the repo structure" -o summary.md
A few important points from the same guide:
codex exec runs in a read-only sandbox by default. To allow edits, write --sandbox workspace-write explicitly. The old --full-auto flag is deprecated and only prints a warning.--output-schema and a JSON Schema file, you get the final answer in a fixed shape the next pipeline step can read.--ephemeral, session files are not saved to disk.codex exec only runs inside a Git repository unless you knowingly pass --skip-git-repo-check.CODEX_API_KEY only for the one command that needs it. For GitHub Actions, the documentation recommends the official openai/codex-action action.In an unattended run, you are not there to see permission requests. So set the sandbox boundary tight in advance, give the process no keys or production access, and read the output before merging it into the main branch. An exit code of zero only says the process finished without errors, not that the change it made is correct.
 Official OpenAI image for the Codex non-interactive mode page
Codex CLI itself is open-source software that runs on your machine, and it does not have to use OpenAI's models. If you want code and data to stay inside your own network, want more control over cost, or want to try an open-weight model on a real project, the Codex documentation has two official ways to connect it to another model. The first is the --oss flag, which connects Codex to Ollama or LM Studio on the same machine:
# One run against a local open-weight model served by Ollama
codex --oss --local-provider ollama
So it does not ask which local provider to use every time, add oss_provider = "ollama" to your settings. In codex exec, if no local provider is set, the command exits with an error.
The second is defining a custom provider in the settings, for when the model runs on your own server or an internal server in your organisation:
# ~/.codex/config.toml (user level; project config ignores these keys)
model = "your-model-name"
model_provider = "local_ollama"

[model_providers.local_ollama]
name = "Ollama"
base_url = "http://localhost:11434/v1"

# A model server on your own network, with its key in an env variable
[model_providers.team_llm]
name = "Team model server"
base_url = "http://llm.internal.example/v1"
env_key = "TEAM_LLM_API_KEY"
Take three points from the Codex advanced configuration page and the sign-in page seriously:
wire_api key accepts only responses. So your model server must support that format; check this in the server's own documentation.model_provider and model_providers keys are read only from the user-level ~/.codex/config.toml. If you put them in .codex/config.toml inside the repository, Codex ignores them and prints a warning.env_key nor requires_openai_auth for a provider, Codex assumes no authentication is needed. The documentation describes this as suitable for local models.On this route, features that depend on a ChatGPT account, such as cloud tasks, are not available. Quality is not the same either: pointing Codex at an open model does not turn it into one of OpenAI's models, and you should measure it on your own real project. To choose a model, see Qwen3.8, GLM-5.2 and DeepSeek-V4 for coding. If you want a tool built for multiple providers from the start, also read the OpenCode tutorial and the Qwen Code tutorial.
One person using Codex is different from giving it to every developer in an organisation. Before a team rollout, settle these points:
AGENTS.md at the repository root with build and test commands, forbidden actions and the definition of done;sandbox_mode and approval_policy, and no --yolo on developer machines; in larger organisations, Codex managed configuration can restrict the allowed values;codex review helps the reviewer instead of replacing them;If you want to roll out Codex or a similar coding agent for your organisation's software team, on a model that fits your needs and with clear access and review rules, talk to us: call +98 901 555 5651 or message us on WhatsApp. You can also read about the service on the AI and coding-agent training for teams page.
The commands, flags and settings keys in this guide were compared on that date with the official pages below. The old developers.openai.com/codex addresses now redirect to learn.chatgpt.com:
Master OpenCode from installation to providers, AGENTS.md, plan and build agents, permissions, skills, MCP, plugins, IDE, desktop, server, and GitHub workflows.
Read More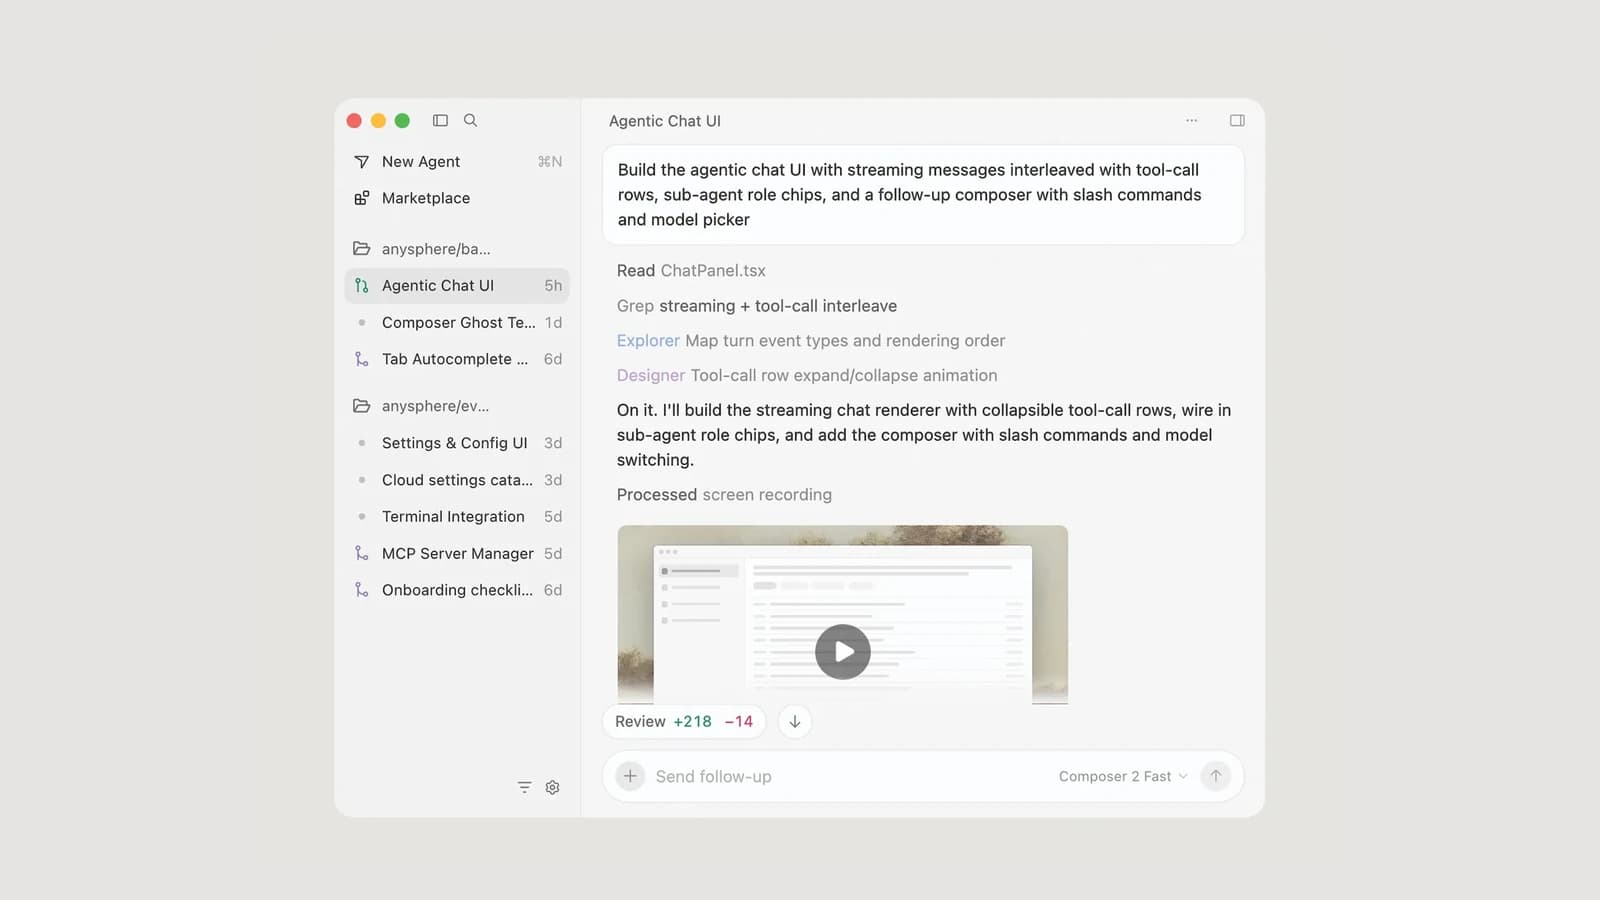
Install Cursor on macOS, Windows, or Linux, then learn Tab, inline edit, Agent and Plan modes, rules, MCP, privacy, pricing, and what developers in Iran need to know.
Read More
A practical GitHub Copilot CLI guide: installing on macOS, Linux and Windows, instruction files, tool permissions, plan and autopilot modes, MCP, scripted use, and connecting your own model.
Read MoreIf you want the agents and automation in this guide working for your engineering team or business processes, start with a small pilot you can measure.