Hermes Agent is an open-source AI agent from Nous Research. It runs in the terminal, reads and edits files, runs commands, searches the web, and can also take messages through Telegram, Discord or Slack. Two things set it apart from tools such as Claude Code: it is not tied to any particular model, so you can connect it to dozens of providers or to a model on your own server, and it updates its own memory and skills from the experience of earlier tasks.
This guide starts from zero: requirements, installing, choosing a model, the project instruction file, command approval and isolation, everyday commands, MCP, and unattended runs. Every command and setting name was checked on 28 September 2026 against the official Hermes documentation and the project's official GitHub repository. The project changes almost daily; if a command behaves differently, check the linked page. If you want to run the model on your own server, the exact configuration is in the section "Connecting Hermes to a model on your own server".
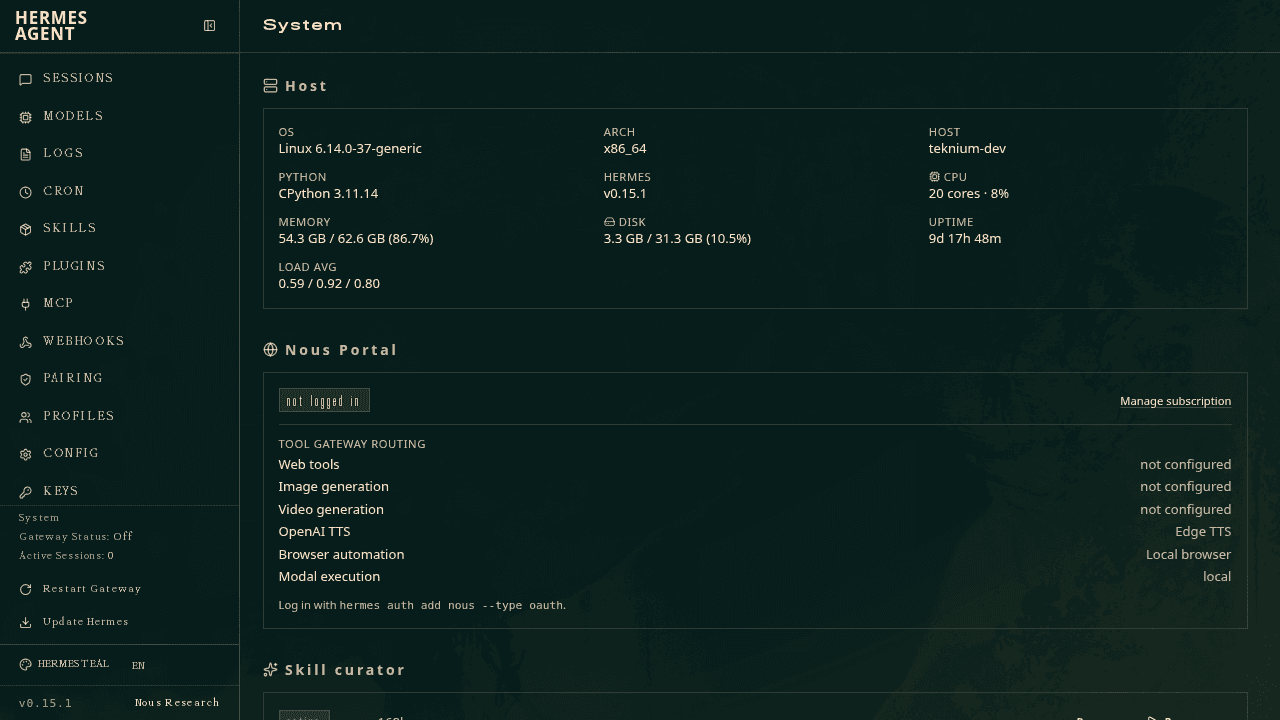
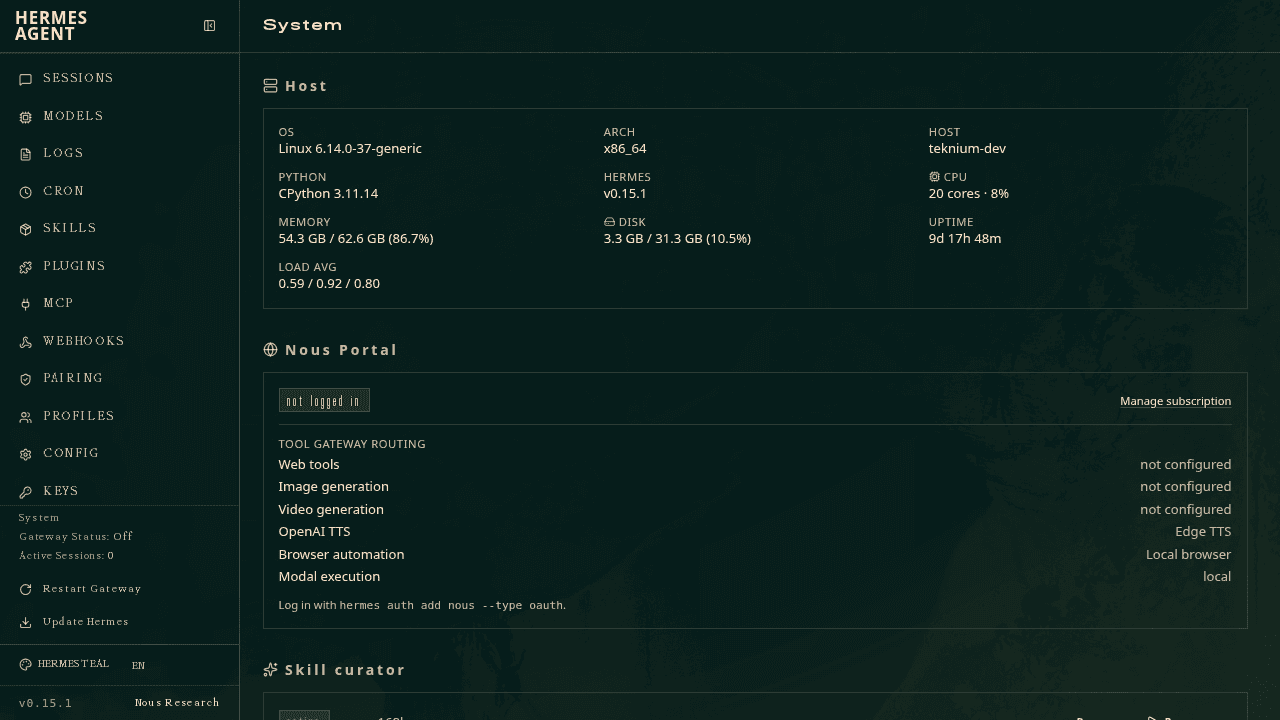 Official Hermes Agent web dashboard screenshot from the project repository
What Hermes Agent is and how it differs from coding agents
Think of Hermes as a persistent, general-purpose assistant rather than a code-only tool. The same program has several interfaces: the classic command line, a newer terminal interface opened with hermes --tui, a desktop app, a local web dashboard, and a "messaging gateway" that connects the agent to Telegram, Discord, Slack, WhatsApp, Signal or email. Scheduled jobs, long-term memory, skills and subagents are built in.
According to the GitHub repository, the project's code is released under the MIT license; the software is free, and anyone can install, inspect and modify it. The language model is not part of this software. Hermes is only the layer that sends requests to the model you choose, and the quality, cost and legal risk of the work all come down to that choice.
It works well for programming too, but keep one important difference in mind: an agent that is always on, connected to messaging apps and equipped with memory ends up with more reach than a short coding session. That is why this guide adds capabilities one at a time, under control.
Before you install: operating system, model and account
- Operating system: according to the platform support page, the first support tier covers macOS on Apple Silicon, Windows 10 and 11, Linux and WSL2 on x86_64 and aarch64, and Docker containers. Installing through pip or Homebrew is not supported.
- Base tools: on macOS and Linux the install script needs git, curl, tar and a SHA-256 checksum tool. Python, Node.js and the other dependencies are brought in by the installer itself at pinned versions, and it leaves the versions already on your system alone.
- Model: according to the quickstart guide, the model needs a context window of at least 64,000 tokens. Models with a smaller window are rejected at startup.
- Account: the software itself needs no account. The provider you pick needs its own account or key; if you run the model on your own server, no account is needed at all.
Installing and updating Hermes Agent
On Linux, macOS or WSL2, run:
curl -fsSL https://hermes-agent.nousresearch.com/install.sh | bash
On Windows without WSL, run this in PowerShell:
iex (irm https://hermes-agent.nousresearch.com/install.ps1)
According to the installation guide, the script puts the program code in ~/.hermes/hermes-agent/, creates the hermes command in ~/.local/bin/, and keeps your settings and data in ~/.hermes/. On Windows all of this lives under %LOCALAPPDATA%\hermes. macOS and Windows users can also get the desktop version from the project website. The installer downloads browser-control tools by default; if you do not need them, the installation guide explains the option to leave them out.
After installing, reload the shell and check the install:
source ~/.bashrc   # or: source ~/.zshrc
hermes --version
hermes doctor
hermes doctor reports incomplete settings, missing keys and install problems, and it is the first place to go whenever something breaks. According to the updating page, a script install is updated with hermes update. The desktop version has its own update button, and with Docker you pull the new image and recreate the container with the same data folder.
Your first session: choosing a model and a test conversation
The most important step is choosing a model provider. hermes setup offers three modes:
- Quick Setup with Nous Portal: a single browser sign-in, and a paid Nous Research subscription supplies both the model and the tools for web search, image generation, text-to-speech and a cloud browser. The documentation presents this as the recommended fast path.
- Full Setup: you configure every provider and tool yourself, with your own keys.
- Blank Slate: only the model and the file and terminal toolsets are switched on. Web, browser, code execution, memory, scheduled jobs, skills, plugins and MCP all stay off, and they do not switch themselves back on even after an update.
If you want to know exactly what the agent can reach, Blank Slate is the best choice. Later, turn on any tool you need with hermes tools.
To choose or change the model, use hermes model. The provider list is long: Nous Portal, OpenRouter, Anthropic, a ChatGPT or Codex subscription, Google AI Studio, DeepSeek, Hugging Face, AWS Bedrock and many more, and at the end a "custom endpoint" option for any server with an OpenAI-compatible API. Whichever you choose, the documentation has one rule for keeping secrets apart from settings: keys and tokens go in ~/.hermes/.env and everything else goes in ~/.hermes/config.yaml. hermes config set sends each value to the right file on its own.
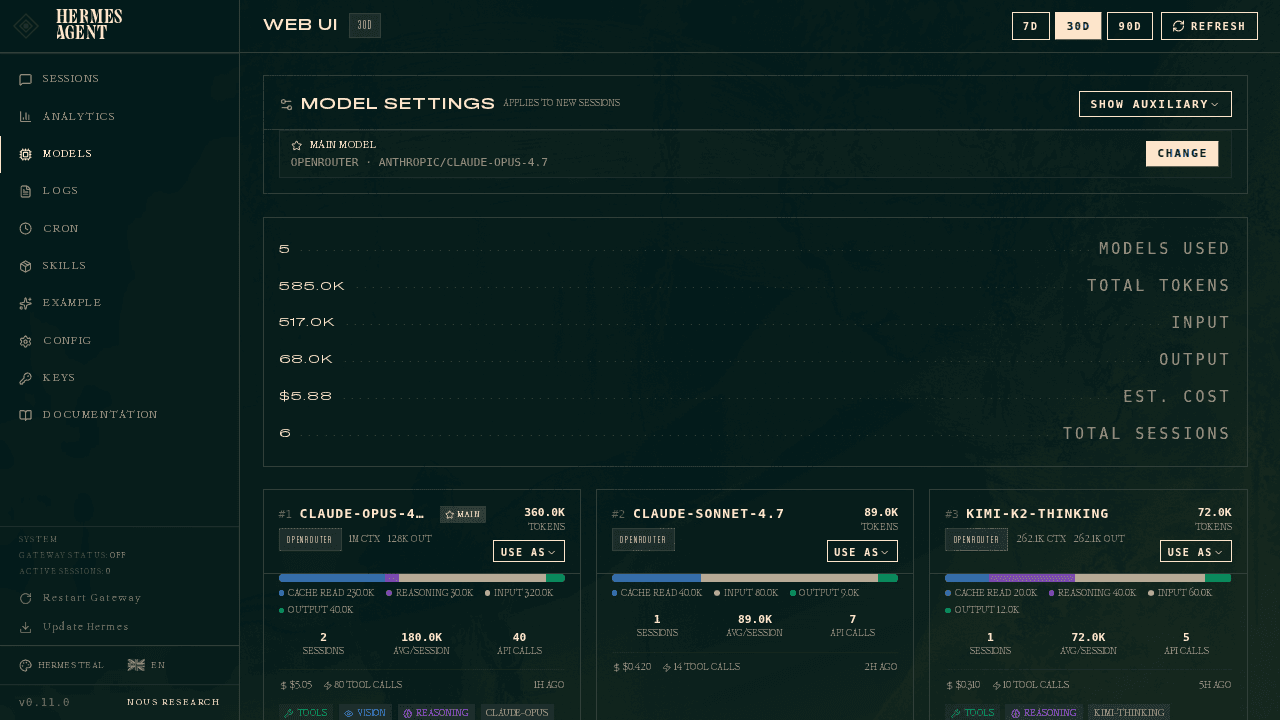 Official screenshot of the Hermes Agent models page
Now go to the project folder, make sure there are no unsaved changes, and start a session:
cd path/to/your-project
git status
hermes
The active model and provider are shown at the top of the screen; check that first. Then ask a few safe questions:
- "Summarize this repository's structure in five lines and tell me where the program starts."
- "Find this project's configuration files and tell me what each one does. Don't change anything."
- "Without running any command, tell me how the tests are run."
If the answers are right and the agent could read a file, the foundation is in place. The quickstart guide says plainly not to add any other feature until a simple conversation works without errors. To continue the last session later, use hermes -c.
AGENTS.md and project context files
At the start of every session, Hermes finds the project's instruction files automatically. According to the context files page, only one kind of project file is loaded per session, in this order of priority: .hermes.md or HERMES.md, then AGENTS.override.md, then AGENTS.md, then CLAUDE.md, and finally .cursorrules. So if your project already has an instruction file for Claude Code or Cursor, Hermes reads that too.
The simplest start is the /init command inside a session. It examines the repository with read-only tools and writes a short AGENTS.md, and if the file already exists, it keeps your content and only updates it. Then add what cannot be guessed from the code yourself:
# Project notes for agents
- Stack: Django 5 backend in backend/, Vue 3 frontend in web/
- Run backend tests: cd backend && pytest -q
- Never run manage.py migrate against anything but the local database
- Persian UI strings live in web/src/i18n/fa.json
- Ask before adding a new dependency
A few points about how these files behave:
- Folder chain: inside a git repository, the
AGENTS.md at the repository root and the files in every folder down to where you are working are all loaded, and the more specific file wins. When the agent moves into a subfolder, that folder's AGENTS.md is added at that moment.
- Security scan: the content of these files is checked for prompt-injection patterns before it reaches the model, and a suspicious file is blocked.
- Agent persona:
~/.hermes/SOUL.md sets the agent's overall tone and personality and is only read from the Hermes home folder, never from the project folder.
- Checking what loaded:
/context shows which files were read, which were truncated, and which were set aside because of priority.
Command approval, isolation and memory control
This is the most important section of the guide, because Hermes behaves differently from Claude Code by default. According to the security page, before each command Hermes only compares it against a list of dangerous patterns, such as recursive deletes, chmod 777, DROP TABLE, or piping a downloaded script straight into a shell. Ordinary commands run without asking. File writes usually have no prompt either, and only a few sensitive paths, such as ~/.ssh/ and Hermes's own secret files, are always blocked.
The approval policy is set by the approvals.mode key:
| Mode | Behaviour |
|---|
smart (default) | An auxiliary model rates the risk of a dangerous command: it runs low-risk ones, denies truly dangerous ones, and asks you about uncertain ones |
manual | Asks you about every dangerous command |
off | Never asks; equivalent to the --yolo flag |
When a prompt appears, you have four choices: once, for the whole session, always, or deny. "Always" records the pattern in config.yaml for every future session, so choose it with care. Separately from all this, there is a fixed list of catastrophic commands, such as wiping the system root, that will not run even with --yolo.
Because ordinary commands and file writes happen without a prompt, the real boundary has to come from the environment the agent runs in. The documentation gives you several tools, and this example puts them together in ~/.hermes/config.yaml:
approvals:
  mode: manual
  deny:
    - "git push --force*"
    - "dd if=* of=/dev/*"
terminal:
  backend: docker
checkpoints:
  enabled: true
skills:
  write_approval: true
memory:
  write_approval: true
Each part of this configuration has a specific job:
approvals: asks you about every dangerous command, and always denies the patterns in the deny list, even under --yolo.terminal.backend: docker: runs commands inside a Docker container instead of on your machine. In this mode the container itself is the security boundary and the dangerous-command check is skipped, so build the container without real keys or data.checkpoints: according to the checkpoints page, it takes a snapshot of the project, in a store separate from the project's own git, before every file edit or destructive command, so you can go back with /rollback. This feature is off by default.write_approval: after a task, Hermes may write a new skill or add something to its memory on its own, and the default for both keys is false, meaning without asking. With true, every change is held for review, and you see it with /skills pending and /memory pending.
One more limit: the HERMES_WRITE_SAFE_ROOT variable restricts the file-writing tool to one folder, but the documentation says plainly that terminal commands still run with your user's permissions and can get around it. It is an extra lock, not isolation.
Everyday commands inside a session
Any message that starts with / is a command. The full list is in the slash commands reference, and these cover everyday work:
| Command | Use |
|---|
/help | List commands |
/model | See or change the model among providers already configured |
/tools | List tools and turn them off or on for this session |
/init | Create or update AGENTS.md |
/plan | Write an implementation plan to .hermes/plans/ without running anything |
/diff | See git changes in the working folder |
/rollback | List checkpoints and restore one |
/context | See what is filling the model's context window |
/compress | Summarise the conversation to free up the context window |
/new | Start a fresh session |
/resume | Continue an earlier session |
/status | See the session's model, provider, working folder and token usage |
/approvals | See or change the command approval mode |
/skills | Search, install and review skills |
Outside a session these come up often: hermes model to add a new provider, hermes tools to switch tools on and off, hermes config edit to open the settings file, and hermes dashboard for the web dashboard, which by default only listens on 127.0.0.1. Know the /yolo command too, so you never type it by mistake: it turns off every approval prompt for that session.
How to ask Hermes for work
An agent that runs ordinary commands without asking needs a more precise request. Compare these two:
- Vague: "Make the sales report faster."
- Clear: "The monthly sales report page takes more than ten seconds. First find the cause by reading the code and the query logs, and explain it. Do not run any database migration and do not change the table schemas. Make the fix only in the backend/reports folder, run that folder's tests, and report the time before and after."
For bigger tasks we suggest this order:
- Start the session with
hermes -w. According to the CLI guide, this flag creates a separate git worktree so the agent's work stays apart from your main branch.
- Ask for an implementation plan with
/plan. This command only saves the plan in .hermes/plans/ and runs nothing.
- Read the plan, correct it, and then ask it to proceed according to that plan.
- Ask it to run the tests, and look at the output yourself.
- Review the changes with
/diff or git diff. If checkpoints are on and the result is bad, go back with /rollback.
- Make the commit yourself.
After a successful task, Hermes may turn it into a skill or a memory note. If you turned on write_approval, those changes wait for your approval. Review them like code; one success is not a reason for a method to become a permanent rule.
Connecting outside tools with MCP and messaging apps
According to the Hermes MCP documentation, servers are defined under mcp_servers in ~/.hermes/config.yaml. A server that runs on your own machine is given with command and args, and a remote server with url:
mcp_servers:
  filesystem:
    command: "npx"
    args: ["-y", "@modelcontextprotocol/server-filesystem", "${workspaceFolder}"]
  internal-docs:
    url: "https://mcp.example.internal/mcp"
    trust: untrusted
    tools:
      include: ["search_*", "get_*"]
tools.include exposes only the tools you need to the model. trust: untrusted makes every tool on that server that does not claim to be read-only ask for your approval before it runs; the documentation recommends marking any server you do not fully control this way. Put keys in ~/.hermes/.env and refer to them in this file with ${env:NAME}. After a change, /reload-mcp reloads the servers, and hermes mcp shows a catalog of servers reviewed by Nous for installation.
The messaging gateway is set up with hermes gateway setup. By default no user may message the agent until you put their ID on the allow list or approve them with a pairing code. Never expose an agent with terminal and file access through a public bot, and remember that messages and attachments can carry malicious instructions too. We cover the secure architecture for these connections in MCP integration architecture.
Unattended runs and scheduled jobs
For scripts and CI pipelines, use single-query mode. These examples come from the CLI guide:
# One question, then exit
hermes chat -q "Summarize the open TODO comments in this repository"

# Read the prompt from a file, with a fixed provider and model
hermes chat --provider openrouter --model "anthropic/claude-sonnet-4" --query-file prompt.txt

# Limit the toolsets for this run
hermes chat --toolsets "terminal,skills" -q "Run the test suite and summarize failures"

# Single query inside a fresh git worktree
hermes -w -z "Fix issue #123"
In single-query mode nobody is there to answer an approval prompt. The approvals.single_query_mode key, whose default is deny, refuses dangerous commands in this mode, and the agent has to find another way. The same logic applies to scheduled jobs through the approvals.cron_mode key. You manage scheduled jobs with hermes cron or the /cron command. Run every new job by hand a few times first, and only schedule it once its results are reliable.
Connecting Hermes to a model on your own server
Hermes is not tied to any particular model, and one of the options it officially supports is a model you run yourself: an open-weight model on your own computer or server, or any service that offers an OpenAI-compatible API and gives clear answers about where and for how long it keeps data. This route makes sense when you do not want code and data to leave your own network, when you prefer the fixed cost of a server to paying per token, or when you want the model version to stay exactly under your control instead of changing without notice. According to the providers page, any server that implements /v1/chat/completions connects with these few lines in ~/.hermes/config.yaml:
model:
  default: your-model-name
  provider: custom
  base_url: http://localhost:8000/v1   # or the address of your own server
  api_key: your-key-or-leave-empty-for-local
If you use Ollama, according to the local Ollama guide the address is http://localhost:11434/v1 and no key is needed. Ollama starts with a small context window by default, so you need to build a version with a 64,000-token window:
# Ollama starts with a small context window; Hermes needs at least 64K
cat > Modelfile << 'EOF'
FROM gemma4:31b
PARAMETER num_ctx 64000
EOF
ollama create gemma4-64k -f Modelfile
Then set default: "gemma4-64k" and base_url: "http://localhost:11434/v1" in the settings. On a GPU server, vLLM is the more common choice. The documentation stresses that without two tool-calling flags the model only produces text and cannot edit files or run commands:
# Serve an open-weight model with tool calling switched on
vllm serve <model-id> \
  --port 8000 \
  --max-model-len 65536 \
  --enable-auto-tool-choice \
  --tool-call-parser <parser>
The <parser> value has to match the model family. The documentation lists these values: hermes for Qwen 2.5 and the Hermes models, llama3_json for Llama 3, and mistral, deepseek_v3 and deepseek_v31 for other families. In this setup, side tasks such as summarisation also go to your main model by default, so every model request goes to your own server. Side tools such as web search, however, rely on hosted outside services by default; if you want no data to leave your server, keep them off and turn them on only when needed.
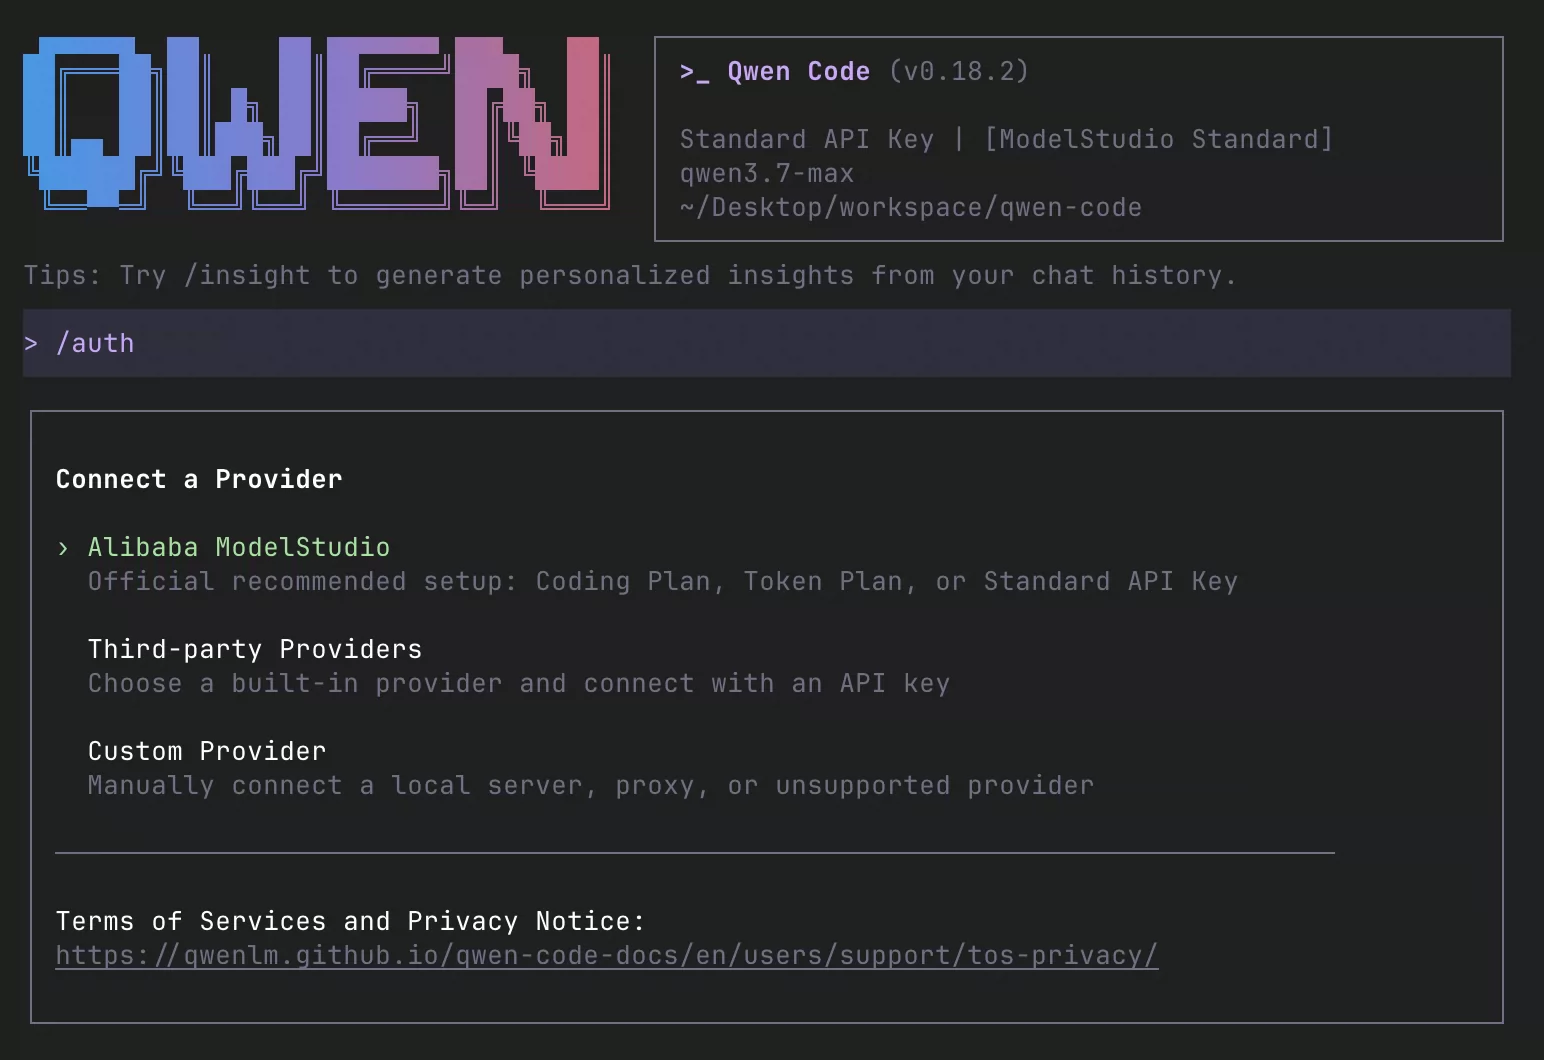
To choose a model, see Qwen3.8, GLM-5.2 and DeepSeek-V4 for coding. If your work is mostly programming and you want an agent built specifically for the terminal and a code repository, the OpenCode tutorial and the Qwen Code tutorial support the same kind of connection to your own model. A small open model is not equal to the large commercial models on multi-step tasks; test it on your own real work.
Rolling out Hermes for a team or organisation
In an organisation, Hermes usually serves as a shared assistant or a messaging bot, and its reach is wider than a personal tool's. Before the rollout, settle these points:
- Model and service: which model and service suit your organisation on cost, quality and data location;
- Shared instructions: a short
AGENTS.md in the git repository with the build and test commands and forbidden actions;
- Team permissions:
manual approval mode, commands running in Docker, a shared deny list, and write_approval switched on for skills and memory;
- Messaging access: an allow list of users for each bot, and personal bots kept separate from team bots;
- Review rule: no change merges without human review, especially in financial and security code;
- Cost: a monthly cap in toman for the model server or token usage, and a monthly report;
- Measuring results: pick a few real, recurring tasks and measure their time and quality before and after the rollout.
If you want to set up Hermes or a similar agent for your team on a model that runs on your own server, with safe settings and clear review rules, talk to us: call +98 901 555 5651 or message us on WhatsApp. You can also read about the service on the AI and coding-agent training for teams page.
Source Notes (reviewed 2026-09-28)
Every command and setting in this guide was checked on that date against these official pages: