Claude Code is Anthropic's coding agent, and it works inside your terminal. You tell it what you want; it reads the project's files, edits code, runs commands and tests, and reports back. That is the difference from a chat window: instead of copying code out and pasting answers back in, the tool works on your project directly and asks for permission before anything sensitive.
This guide starts from zero: installing, a first session, writing a project instruction file, setting permissions, the everyday commands, connecting outside tools, and running it unattended. Every command and name was checked against the official Claude Code documentation on 28 September 2026. The tool ships new versions almost every week, so if a command behaves differently, check the linked documentation page.
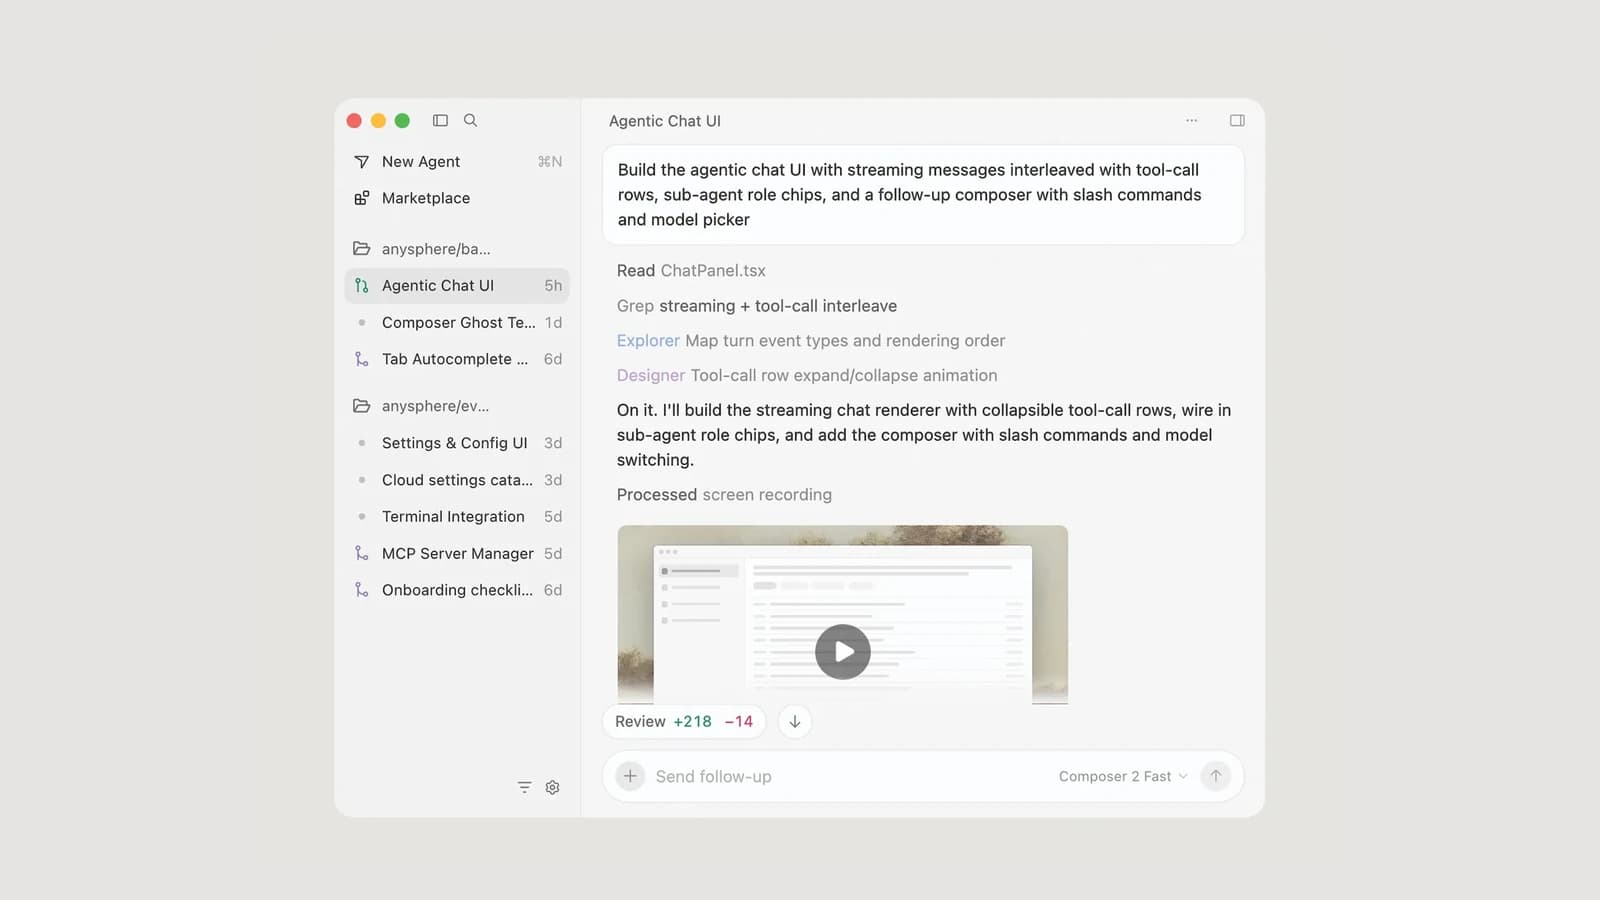
 Official Anthropic image for Claude Code
What Claude Code is and what it is good for
Think of Claude Code as a colleague with access to the whole project folder. It can explain how a project is laid out, find the cause of an error, write tests, rewrite old code, suggest a commit message, and review changes before you send them. For each task it reads the relevant files first, proposes an approach, and then makes the change.
The same tool comes in several forms: the command-line version, which is the focus of this guide, extensions for VS Code and JetBrains, a desktop app, and a web version. Settings, instruction files and permissions are shared between them, so what you learn here carries over. If you want an open-source agent that connects to a model of your choice, see the OpenCode tutorial and the Qwen Code tutorial as well.
Keep one thing in mind from the start: Claude Code runs commands on your machine. It is fast, and its mistakes can be just as fast. Much of this guide is about keeping control in your own hands.
Before you install: system and account
According to the official Claude Code setup page, you need:
- Operating system: macOS 13 or later, Windows 10 version 1809 or later or Windows Server 2019, or on Linux, Ubuntu 20.04, Debian 10 or Alpine 3.19 or later;
- Hardware: at least 4 GB of RAM and an x64 or ARM64 processor;
- Network: a working internet connection, because the model runs on Anthropic's servers;
- Account: a Pro, Max, Team or Enterprise subscription, or a Console account billed by usage. The free claude.ai plan does not include Claude Code. Organisations can also connect through Amazon Bedrock, Google Cloud or Microsoft Foundry;
Installing Claude Code on macOS, Linux and Windows
Anthropic recommends the native installer, which also keeps itself up to date. On macOS, Linux or WSL, run this in a terminal:
curl -fsSL https://claude.ai/install.sh | bash
On Windows, if you use PowerShell:
irm https://claude.ai/install.ps1 | iex
And if you are in CMD:
curl -fsSL https://claude.ai/install.cmd -o install.cmd && install.cmd && del install.cmd
To tell which one you are in, look at the start of the prompt: PowerShell shows PS before the path and CMD does not. Installing Git for Windows is optional but recommended, because Claude Code then runs commands through Bash.
Other install routes exist too:
# Homebrew (macOS)
brew install --cask claude-code

# WinGet (Windows)
winget install Anthropic.ClaudeCode

# npm (requires Node.js 22 or later)
npm install -g @anthropic-ai/claude-code
Homebrew and WinGet installs do not update themselves, so run brew upgrade claude-code or winget upgrade Anthropic.ClaudeCode every so often. Never use sudo with the npm route; the documentation says plainly that it causes permission problems and security risk.
After installing, open a new terminal window and check the install:
claude --version
claude doctor
The first command prints the version number. The second, without starting a session, reports install health, settings-file errors and the auto-update status. If you see command not found, the install location is not on your PATH yet; close the terminal and open it again.
Your first session: signing in and starting in a project folder
Go to your project folder and start Claude Code:
cd path/to/your-project
claude
The first time, a browser opens so you can sign in. If you have set the ANTHROPIC_API_KEY environment variable, it asks once whether to use that key instead. After signing in, Claude Code asks whether you trust the folder. Only confirm a folder you actually want it to work on. Do not start Claude Code in your home folder or in a folder where you keep passwords and keys.
At the start, only ask questions and change nothing yet. A few good first requests:
- "What does this project do? Explain the folder layout and where the program starts."
- "How are the tests run? Just tell me, don't run them yet."
- "Which files deal with payments and invoices?"
Claude Code understands Persian well, so you can write requests in Persian. Before the first real change, make sure the project is under git and has no unsaved changes; git status shows this. That way every change Claude Code makes is visible and, if needed, reversible.
CLAUDE.md: the project's standing instructions
Every Claude Code session starts with an empty memory. The CLAUDE.md file is where you write the project's fixed rules once so they are read in every session. The simplest start is to type /init inside a session. It examines the project and writes a first CLAUDE.md with the build and test commands and the conventions it found. If the file already exists, it suggests improvements instead of overwriting it.
Then add what cannot be guessed from the code. An example:
# Project rules
- Build: npm run build
- Test one file: npm test -- path/to/file.test.ts
- Never edit files under migrations/ without asking
- UI strings live in src/locales/fa.json; keep Persian digits
- Done means: tests pass and git diff has been reviewed
According to the Claude Code memory documentation, keep these points in mind:
- Where it lives:
CLAUDE.md or .claude/CLAUDE.md at the project root for shared team rules that go into git; ~/.claude/CLAUDE.md for your personal preferences across all projects; and CLAUDE.local.md for private notes on this project that should not be committed.
- Size: keep it under 200 lines. A longer file takes more of the model's working memory and is followed less reliably.
- Pulling in other files: writing
@README or @docs/api.md loads that file's content alongside the instructions.
- Checking:
/context shows which instruction files actually loaded, and /memory is for editing them.
One important point: CLAUDE.md is guidance, not a lock. Claude usually follows it, but if something must never happen, block it with permissions or hooks. Never put passwords, tokens or API keys in this file.
Permission modes: when Claude Code asks you first
Claude Code does not ask before reading project files, but before editing files, running commands or reaching the network it may ask, depending on the permission mode. According to the permission modes guide, these modes exist:
| Mode | Behaviour | Good for |
|---|
Manual, called default in settings | Asks before most edits, commands and network access | Getting started and sensitive projects |
acceptEdits | Makes file edits and simple file commands such as creating and moving files without asking | When you trust the direction of the work |
plan | Only reads and investigates; changes no files | Before large changes |
auto | A second model reviews each action and approves it for you if it matches your request | Everyday work with less supervision |
dontAsk | Denies anything that would need permission unless it was allowed in advance | Unattended runs with an explicit allow list |
bypassPermissions | Does almost everything without asking | Only isolated, disposable environments |
From version 2.1.283, interactive terminal sessions start in auto mode by default. Press Shift+Tab to move between modes: from auto to Manual, then acceptEdits, then plan, and back to Manual. The current mode is always shown at the bottom of the screen.
For standing rules, use the /permissions command or a settings file. This example, in the project's .claude/settings.json, allows npm scripts to run and blocks reading secret files:
{
  "permissions": {
    "allow": ["Bash(npm run *)"],
    "deny": ["Read(./.env)", "Read(./secrets/**)"]
  }
}
The permissions documentation stresses that Claude Code enforces these rules itself, not the model; unlike CLAUDE.md, the model cannot talk its way around them. .claude/settings.json belongs to the whole team and goes into git, .claude/settings.local.json is yours alone, and ~/.claude/settings.json applies to all your projects. Do not use bypassPermissions or the --dangerously-skip-permissions flag on your main machine. For a deeper discussion, see AI tool permission security.
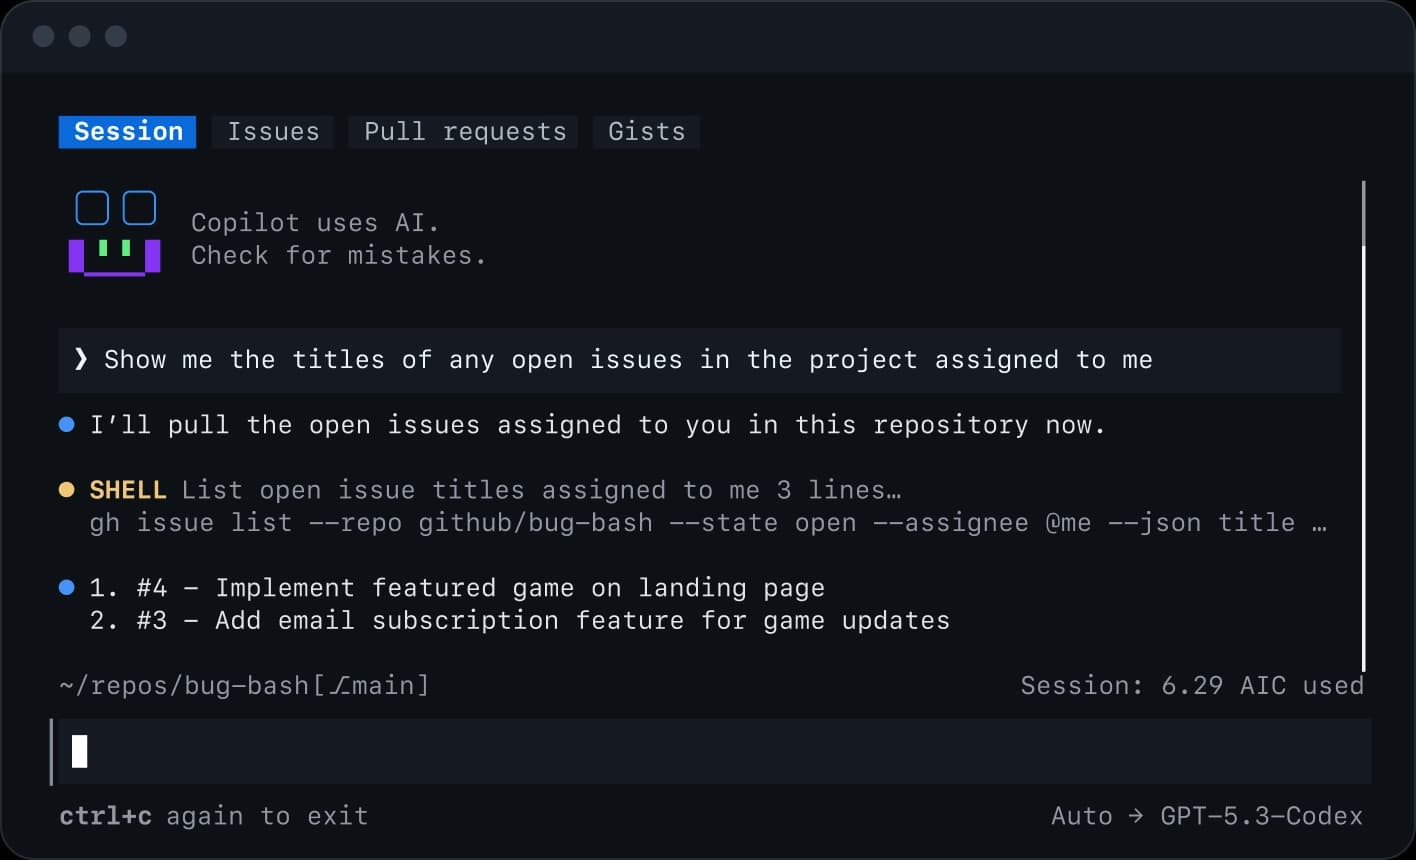
 Official Anthropic image of the Claude Code workspace
Slash commands you will use every day
Inside a session, any message starting with / is a command. These are the most useful; the full list is on the built-in commands page:
| Command | Use |
|---|
/init | Create a first CLAUDE.md for the project |
/plan | Switch to plan mode before a large change |
/clear | Start a fresh conversation with an empty memory |
/compact | Summarise the conversation to free working memory |
/context | See what is filling the working memory |
/model | Change the model |
/rewind | Roll code and conversation back to an earlier point |
/resume | Continue an earlier conversation |
/diff | See the current changes in the working folder |
/code-review | Review changes for bugs |
/usage | See token usage and cost |
/permissions | Manage permission rules |
/doctor | Diagnose install and settings problems |
When a conversation gets long and answers get worse, /compact or a fresh start with /clear usually beats carrying on. After either, restate the important constraints so they are not lost.
How to ask Claude Code for work: a real example
A good request makes four things clear: what exactly is wrong, where the change is confined, what must not change, and how we will know the work is right. Compare these two:
- Vague: "Fix the cart bug."
- Clear: "When a discount code is removed, the cart total does not update correctly. First find and explain the cause, then make the smallest possible fix, only in the cart folder. Do not change how tax is rounded or the public interface. At the end, run that area's tests and tell me what risk remains."
The second request leaves less to guesswork and gives you a yardstick for the result. For bigger tasks, this order works:
- Switch to plan mode with
Shift+Tab or /plan and ask it to investigate and propose a plan first.
- Read the plan and correct it if needed. Approve it only when you are convinced.
- Let it make the change and run the related tests.
- Review the changes yourself with
git diff or /diff, just as you would review a new colleague's code.
- If the result is not good enough, go back with
/rewind and make the request more precise.
- Make the commit yourself, or at least read the commit message before it is recorded.
Claude Code's closing summary describes the work; it does not prove it. The proof is the test output and the actual changes to the files. In areas such as sign-in, payments, personal data and database schema changes, never drop human review.
Connecting outside tools with MCP
MCP is a standard that connects Claude Code to other tools: a database, a task tracker, a design tool, or internal company documentation. According to the Claude Code MCP documentation, a remote server is added like this:
claude mcp add --transport http notion https://mcp.notion.com/mcp
And a server that runs on your own machine like this; the -- separates Claude's options from the server's own command:
claude mcp add --env AIRTABLE_API_KEY=YOUR_KEY --transport stdio airtable -- npx -y airtable-mcp-server
The --scope flag decides where the server is registered: local, the default, only for you in this project; project, saved in .mcp.json and shared with the team; or user, available in all your projects. claude mcp list shows servers and their status, and inside a session /mcp handles signing in to servers and managing them.
Every MCP server widens what Claude Code can reach. Only connect servers whose makers you know, and remember that a server which reads outside content such as web pages or email can carry malicious instructions into the session. We cover the secure architecture for these connections in MCP integration architecture.
Hooks: rules that always run
A hook is a command Claude Code runs automatically at a set point in its work, for example after every file edit or before a command runs. Unlike CLAUDE.md, it does not depend on the model's judgement; it always runs. This example from the hooks guide formats the edited file with Prettier after every edit:
{
  "hooks": {
    "PostToolUse": [
      {
        "matcher": "Edit|Write",
        "hooks": [
          { "type": "command", "command": "jq -r '.tool_input.file_path' | xargs npx prettier --write" }
        ]
      }
    ]
  }
}
Put this in the project's .claude/settings.json or in ~/.claude/settings.json, and check with /hooks that it loaded. A hook runs with your user account's permissions, so review its scripts like any other code, never print secrets in its output, and treat its input as untrusted.
Running unattended with claude -p
Once a task has worked a few times interactively, you can run it from a script or a CI pipeline. The -p flag runs the request, prints the answer and exits. These examples come from the CLI reference:
# One-off question
claude -p "explain what src/lib/pricing.ts does"

# Pipe a log in and get JSON back
cat build.log | claude -p "why did this build fail?" --output-format json

# Cap the turns and the allowed tools
claude -p "fix the lint errors" --max-turns 5 --allowedTools "Bash(npm run lint *)" "Edit"
A few more flags help: claude -c continues the latest conversation in this folder, claude -r resumes a specific session by ID or name, --permission-mode plan starts in plan mode, and --add-dir makes another folder available.
In an unattended run nobody sees the permission prompts. So list the allowed tools precisely, cap the number of turns, give the script no keys or production access, and review the output before merging it into the main branch. A run that finishes without errors has only finished; that does not mean the code it wrote is correct.
Rolling out a coding agent for a team
Personal use is different from a team rollout. Before you give a coding agent to every developer in the organisation, settle these points:
- Model and service: which model and service suit your organisation on cost, quality and data location;
- Shared instructions: a short
CLAUDE.md or AGENTS.md in git with the build and test commands and forbidden actions;
- Team permissions: a project settings file that blocks reading secret files and names the allowed commands;
- Review rule: no change merges without human review, especially in financial and security code;
- Cost: a monthly spending cap in toman and a usage report per person;
- Measuring results: pick a few real, recurring team tasks and measure their time and quality before and after the rollout.
If you want to roll out a coding agent for your organisation's software team with clear access and review rules, talk to us: call +98 901 555 5651 or message us on WhatsApp. You can also read about the service on the AI and coding-agent training for teams page.
Source Notes (reviewed 2026-09-28)
Every command and setting in this guide was checked on that date against these official pages: